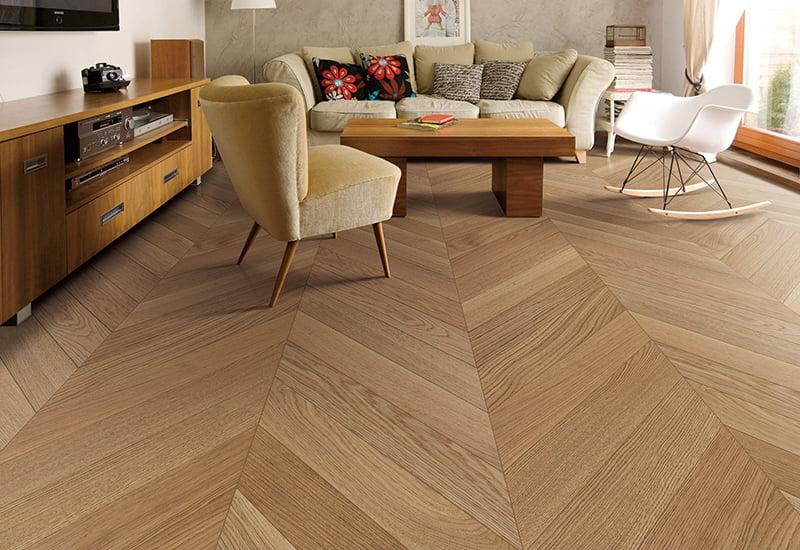
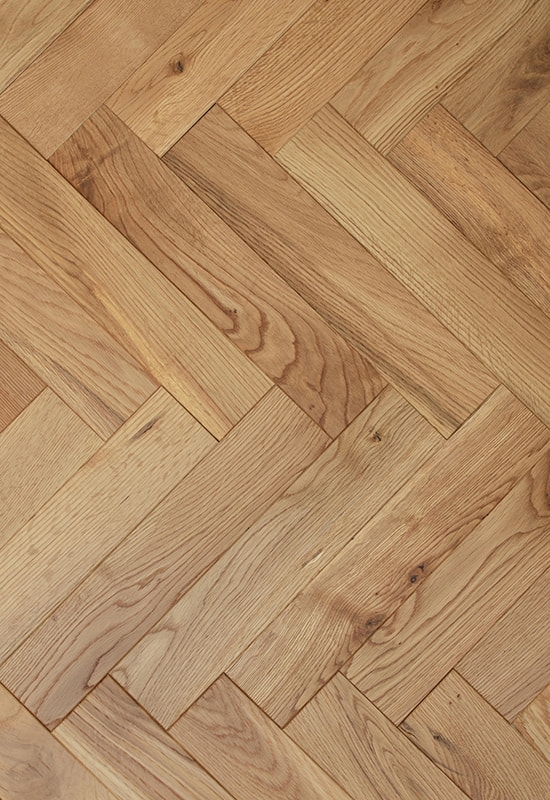
Laying a herringbone wood floor can transform a room, giving it an elegant, classic look. However, it requires careful planning, precise cutting, and a solid understanding of the process. Below is a detailed guide that will walk you through the essential steps for installing a herringbone pattern floor, from preparing the subfloor to finishing the installation.
1. Planning and Preparation
Before starting the installation, proper planning is essential. Here's what you'll need to do:
a. Choosing the Right Materials
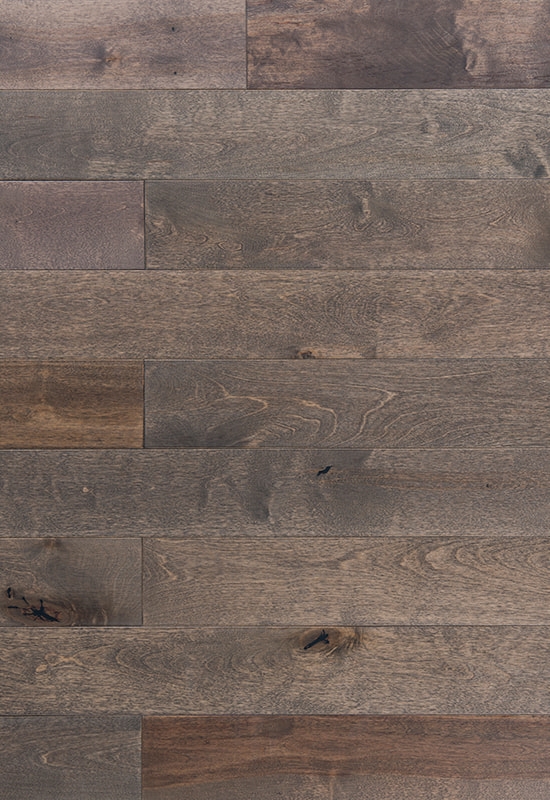
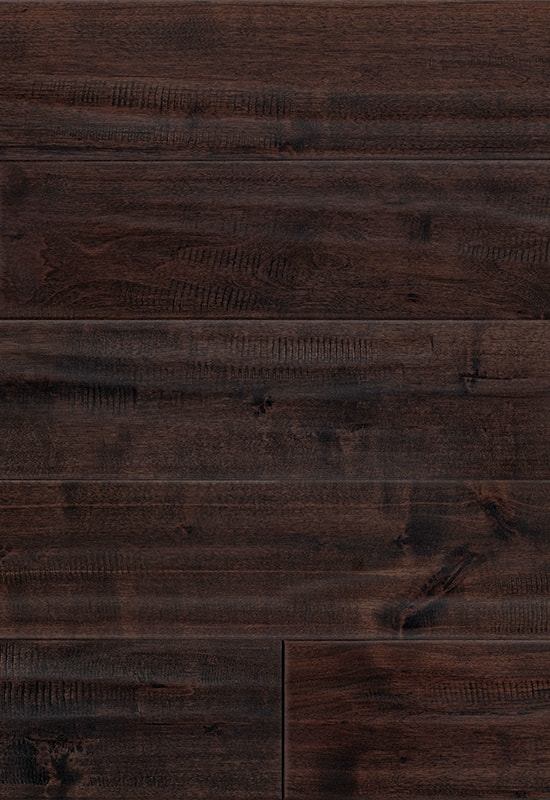
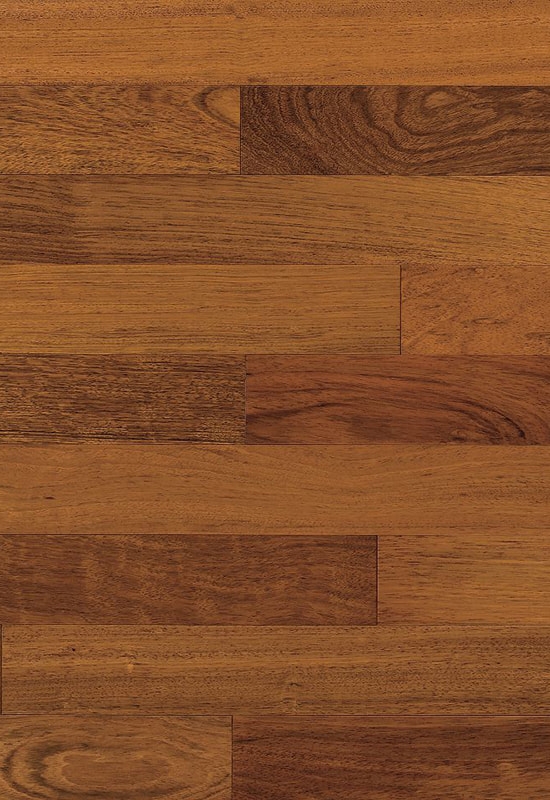
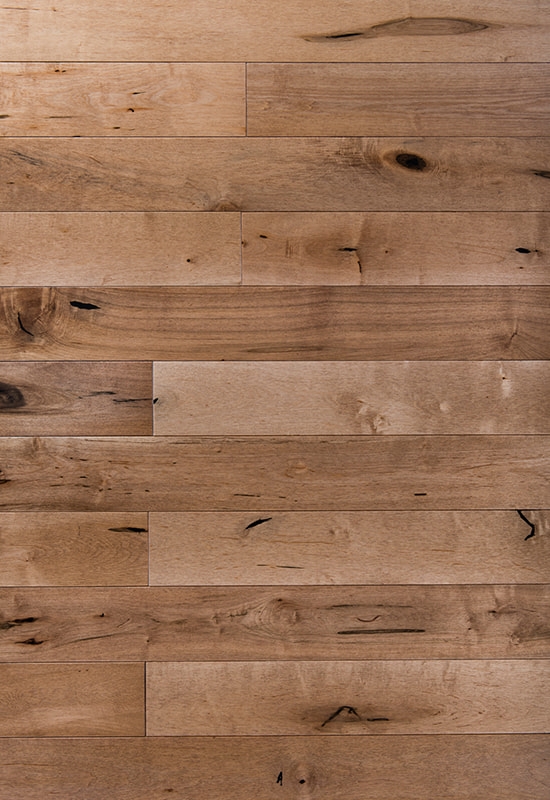
Herringbone patterns are typically created using hardwood planks, but engineered wood, laminate, or vinyl can also be used. Select the type of wood that matches the aesthetic you're going for and the room's conditions (e.g., moisture resistance for bathrooms).
b. Measuring the Room
Measure the length and width of the room.
Consider the direction of the pattern: Usually, herringbone is installed at a 45-degree or 90-degree angle to the walls, depending on the look you want.
It’s also important to make sure the pattern will fit within the room’s proportions without requiring too many adjustments to the planks.
c. Acclimating the Wood
Wood naturally expands and contracts depending on the environment. Lay your wood planks out in the room for at least 48 hours before installation to allow them to acclimate to the room's temperature and humidity.
d. Tools You’ll Need
Measuring tape
Chalk line
Square and level
Miter saw or table saw
Hammer and finish nails or a nail gun
Flooring adhesive (if not using tongue-and-groove planks)
Rubber mallet
Spacers
Jigsaw or coping saw (for precise cuts around edges)
Tapping block
Trowel (if using adhesive)
Wood glue (for tongue-and-groove joints)
2. Preparing the Subfloor
The key to a successful installation is a solid, level subfloor. This can be concrete, plywood, or another surface.
a. Clean the Subfloor
Remove any old flooring, nails, or debris.
Ensure that the surface is smooth and free of imperfections that could affect the wood.
b. Check for Levelness
Use a long level or straightedge to check for any dips or humps.
Use a leveling compound if there are any low spots or uneven areas.
c. Install a Moisture Barrier (if necessary)
For concrete subfloors, it's a good idea to install a moisture barrier to prevent the wood from absorbing moisture and expanding. Roll out the moisture barrier and overlap the seams by a few inches.
3. Laying the First Row
a. Determine the Starting Point
The starting point is critical for the overall pattern. Use a chalk line to create a straight, square line from one wall. This ensures your herringbone pattern will be aligned properly.
For a 45-Degree Pattern:
Draw two chalk lines at a 45-degree angle from the corner of the room.
The lines will be the guides for laying the first set of planks.
For a 90-Degree Pattern:
Draw a straight line along the center of the room (or based on your desired orientation).
b. Place the First Planks
Start with one plank placed at the intersection of the chalk lines. You can use either glue or nails (depending on the type of wood and subfloor).
Make sure the first row is aligned along your chalk lines.
c. Lay the Second Row
The second row will form the "V" shape of the herringbone pattern. Lay the next plank at a 90-degree angle to the first one, creating the characteristic zig-zag pattern.
Use a rubber mallet to ensure the planks are tightly butted up against each other, with no gaps.
4. Building the Herringbone Pattern
a. Continue Laying Planks
Continue laying the planks in a zigzag pattern, ensuring each new plank follows the angle and shape of the previous ones.
If you're using tongue-and-groove boards, glue or nail them into place. If not, apply wood adhesive before installing.
Keep a consistent gap between each row for expansion purposes (typically about 1/8 inch).
b. Adjusting the Planks
Occasionally, check the alignment of the planks using a square or level.
If the planks begin to drift or bow, you may need to adjust the angle slightly or apply a small amount of pressure to keep them straight.
5. Cutting Planks to Fit
You’ll need to cut planks at the edges to make the pattern fit snugly along walls or around obstacles.
a. Use a Miter Saw for Precise Cuts
At the end of each row, measure the remaining space and cut the planks to fit.
Make sure the cuts are clean and square. This will help maintain the sharp angles of the herringbone pattern.
b. Cut Around Obstacles
For any obstacles, such as pipes or vents, carefully measure and use a jigsaw or coping saw to make the necessary cuts. Be sure the cuts are accurate so the wood fits flush with the surrounding areas.
6. Finishing the Floor
Once the entire herringbone pattern is laid, it’s time for the finishing touches:
a. Install Baseboards and Trim
Install the baseboards or quarter-round trim around the perimeter of the room to cover the expansion gap left between the floor and the walls.
Use a nail gun or finish nails to attach the trim to the wall, not the floor.
b. Sanding the Floor (If Needed)
If the wood has visible rough spots or seams, lightly sand the surface to make it smooth. Use a fine-grit sandpaper to avoid damaging the wood.
c. Staining or Sealing the Floor
If you want a specific color or finish, apply the wood stain and allow it to dry completely.
After staining, apply a polyurethane finish to protect the wood and enhance its durability.
d. Cleaning Up
Once everything is dry, clean up the workspace by removing any dust or debris. Sweep or vacuum the area and wipe down the floor.
7. Maintaining the Herringbone Floor
To ensure your herringbone wood floor stays beautiful for years, follow these maintenance tips:
Clean regularly with a soft broom or microfiber mop.
Avoid harsh cleaners that may damage the wood finish.
Keep moisture at bay—wood floors are sensitive to water, so clean up spills immediately.
Use felt pads under furniture to prevent scratches.
Final Thoughts
Laying a herringbone wood floor is a detailed and time-consuming process, but the result can be stunning and well worth the effort. With careful planning, patience, and precision, you can create a beautiful, timeless floor that will enhance the look of any room.


 English
 中文简体
中文简体 Français

 +86-572-2118015
 No.598. Gaoxin Road, Huanzhu Industrial Zone, Huzhou City, Zhejiang Province, China, 313000