Wood floors add timeless elegance and warmth to any home, but daily life can inevitably leave its mark in the form of unsightly scratches. From minor surface scuffs to deeper gouges, these imperfections can detract from the beauty of your flooring. This comprehensive guide will walk you through various methods to effectively repair scratches on your wood floors, restoring them to their former glory. We will explore everything from simple DIY remedies for light scratches to more advanced techniques for deeper damage, ensuring you have the knowledge to tackle any blemish.
Identifying the Damage and Your Floor’s Finish
Before you begin any repair, it is crucial to assess the severity of the scratch and understand the type of finish on your flooring. Scratches can be categorized as either surface-level, affecting only the top protective layer, or deep, penetrating the wood itself.
To identify your floor’s finish, you can perform a few simple tests in an inconspicuous area. First, run your hand over the floor; if you can feel the wood grain, it likely has a penetrating finish like wax or oil. For a more definitive test, apply a small amount of paint remover. If the finish bubbles, it is a surface finish like polyurethane. Another method is to try and scrape up a bit of the finish with a sharp blade; a clear material indicates a surface finish, while a smudge suggests a penetrating finish. You can also place a drop of water on the floor; if it beads up, you have a surface finish, but if it soaks in, it’s likely an oil or wax finish.
Tackling Light Scratches: Simple and Effective Solutions
For minor, superficial scratches that only affect the finish, there are several easy and often natural remedies you can try before reaching for commercial products.
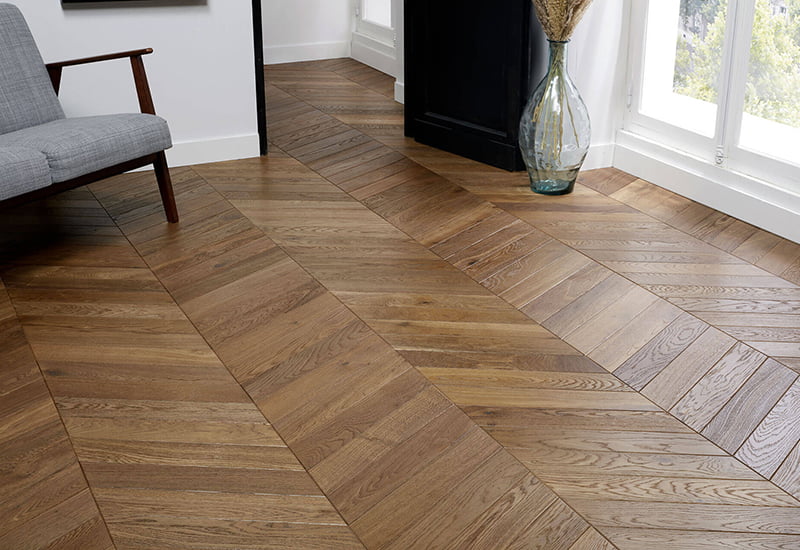
Natural Solutions:
- The Walnut Trick: For a quick and surprisingly effective fix, rub a raw walnut over a light scratch. The oils from the nut will help to fill and darken the scratch, making it less noticeable.
- Vinegar and Olive Oil: A mixture of equal parts apple cider vinegar and olive oil can be dabbed onto a scratch. Let it sit for a day before buffing it with a soft cloth.
- Baking Soda Paste: A paste made from baking soda and olive oil can also help to buff out minor scratches.
Commercial Products for Light Scratches:
- Blending Pencils and Stain Markers: These are specifically designed to match various wood tones and can effectively color in light scratches.
- Wax Sticks: Similar to crayons, these sticks fill in scratches. Simply rub the stick over the scratch and buff the area with a soft cloth.
- Finish Restorers: These products are designed to revive dull or lightly scuffed areas by applying a new thin coat of finish.
Repairing Deep Scratches: A More Hands-On Approach
When scratches have penetrated the wood, a more robust repair is necessary. This often involves filling the scratch and then blending it with the surrounding floor.
Using Wood Filler:
- Preparation: Thoroughly clean the scratched area to remove any dirt or debris. For finished floors, you may need to sand off the finish around the scratch to ensure the filler adheres properly.
- Application: Use a putty knife to press the wood filler into the scratch, slightly overfilling it to account for shrinkage as it dries. Work quickly, especially with solvent-based fillers which can harden fast. For larger holes, apply the filler in thin layers, allowing each to dry.
- Drying: Allow the filler to dry completely according to the manufacturer’s instructions. This can take anywhere from a couple of hours to a full day.
- Sanding: Once dry, sand the filled area with fine-grit sandpaper until it is smooth and level with the surrounding floor. Always sand in the direction of the wood grain.
- Staining and Finishing: To perfectly match the repair, you will need to apply a stain that matches your floor’s color to the filled area. After the stain has dried, apply a top coat of the appropriate finish (polyurethane, wax, or oil) to seal the repair and blend it with the rest of the floor.
Special Considerations for Engineered Wood Flooring
Engineered wood flooring has a thinner top layer of real wood, so extra care must be taken during repairs. For minor scratches, the same methods for solid hardwood can often be used. However, for deeper scratches, aggressive sanding should be avoided as it can wear through the veneer. In these cases, using a dedicated engineered hardwood scratch repair kit, wood filler, or floor repair wax is recommended. If the damage is severe, it may be necessary to replace the affected plank.
A Word on Prevention: Protecting Your Investment
The best way to deal with scratches is to prevent them from happening in the first place. Here are some key preventative measures:
- Use Protective Pads: Place felt pads or glides on the bottoms of all furniture legs to prevent scratching when they are moved.
- Implement a “No Shoes” Policy: Shoes can track in dirt, gravel, and other abrasive particles that can scratch your floors.
- Utilize Rugs and Mats: Place rugs in high-traffic areas and mats at all entrances to trap dirt and debris. Avoid rubber-backed mats as they can trap moisture.
- Regular Cleaning: Sweep or vacuum your floors regularly to remove abrasive dust and dirt.
- Pet Care: Keep your pets’ nails trimmed to minimize scratches from their claws.
By following these repair techniques and preventative measures, you can keep your hardwood floors looking beautiful and elegant for years to come, effectively erasing the marks of time and preserving the value of your home.


 English
 中文简体
中文简体 Français

 +86-572-2118015
 No.598. Gaoxin Road, Huanzhu Industrial Zone, Huzhou City, Zhejiang Province, China, 313000