

 Eng
Eng  English
 中文简体
中文简体 Français
Content
- 1 Why Replace Your Stair Treads and Risers?
- 2 Tools and Materials You’ll Need
- 3 Step 1: Remove the Old Treads and Risers
- 4 Step 2: Measure and Cut Your New Treads and Risers
- 5 Step 3: Install the Risers First (Bottom to Top)
- 6 Step 4: Install the Treads (With Nosing Overhang)
- 7 Special Considerations: Underfloor Heating and Material Differences
- 8 Finishing Touches: Nosing, Trim, and Caulking
Gripping a worn-out, creaking stair tread on a dark morning is a daily reminder that your staircase has seen better days. Even if the carpet hides the worst of it, loose treads and split risers transfer impact noise through the whole house and create a genuine trip hazard. Replacing them is one of the few mid-size projects that can transform a home’s traffic flow overnight. It’s also a job where the sequence matters more than the tools you own. Start from the bottom, lock in each riser before its tread, and never trust a measurement from a single point on an old stair stringer. This guide lays out the exact order, the common mistakes that cost a full day of re-cuts, and the hardware choices that hold up long after the caulk dries.
Why Replace Your Stair Treads and Risers?
Stair components handle concentrated foot loads that floors rarely see. Over time those loads split the wood, loosen glue joints, and compress the nosing edge into a sloped ramp. Three outcomes make replacement a priority rather than a cosmetic exercise. First, safety: a tread with a rounded-over front edge reduces effective standing area and makes slips more likely, especially in socks. Second, appearance: nothing dates a home faster than chipped, painted-over treads contrasted with newer flooring at the landings. Third, structure: a tread that has separated from its supporting stringer allows side-to-side movement that gradually widens the gap and transmits vibration to walls. Replacing the assembly at the first sign of movement is far cheaper than repairing a cracked stringer later.
Tools and Materials You’ll Need
Gathering everything before you start reduces the number of times you’ll climb up and down a half-built staircase. The list below assumes you already have a quality tape measure, a carpenter’s square, a level, and safety glasses. Anything motorized should be checked for blade sharpness and alignment.
- Miter saw or circular saw with a fine-tooth blade
- Table saw (for rip cuts on wide treads)
- 18-gauge brad nailer with 2-inch nails
- Hammer and nail set for hand-driven options
- Pry bar and reciprocating saw for demolition
- High-tack construction adhesive (see comparison below)
- Pre-made stair treads and risers, or dimensional lumber planed to thickness
- Stair nosing trim and T-molding if the staircase is open on one side
- Caulk, wood filler, and matching stain or paint
Adhesive choice has a disproportionate effect on long-term silence. A flexible polyurethane formula absorbs footfall shock better than a rigid construction adhesive, but it requires a slower cure time. Below is a side-by-side of two common options pros use.
| Property | Polyurethane-based | MS-polymer hybrid |
|---|---|---|
| Initial tack | High | Medium |
| Full cure time (at 70°F) | 24–48 hours | 12–24 hours |
| Gap-filling capacity | Up to 3/8 inch | Up to 1/4 inch |
| Temperature resistance | -40°F to 200°F | -20°F to 180°F |
| Paintable after cure | Yes | Minimal adhesion |
Several of these finishing components — especially stair nosing and trim pieces — are difficult to shape from scratch. Ordering pre-finished moldings saves hours of edge routing and guarantees a consistent profile across every step.
Step 1: Remove the Old Treads and Risers
Demolition speed tempts you to muscle through with a crowbar, but stair stringers are often notched only 5/8 inch deep. A single split-out in a load-bearing notch turns a weekend project into a structural repair. Work methodically and protect the existing framing.
- Cut any carpet or underlayment down the center of each tread with a utility knife and pull it back. Remove all staples and tack strips.
- If screws are visible, back them out completely. If glue alone was used, slide a thin pry bar between the tread and the stringer notch from underneath and tap gently to break the bond.
- For stubborn glued treads, use a reciprocating saw with a long metal-cutting blade slipped horizontally between the tread and the stringer. Cut the adhesive layer — do not cut into the wood.
- Once the tread lifts free, remove the riser by prying from the back side. Old risers are often face-nailed. Pull all nails straight out rather than bending them sideways.
- Vacuum the stringer notches and check for rot or oil staining. Fill minor gaps with wood hardener and construction adhesive.
Never start cutting without locating any plumbing or electrical lines running through the stair carriage. A half-inch pipe is sometimes run inside a riser void and can be nicked by a saw blade passed too deep.
Step 2: Measure and Cut Your New Treads and Risers
No staircase built more than a decade ago is perfectly square. Measure every single step independently. For tread width, take three readings — left, center, and right — and use the smallest number. Subtract an additional 1/8 inch (3 mm) from that figure to create an expansion gap that will be hidden by the side trim or skirt board.
For depth, measure from the front edge of the existing sub-tread to the riser face, then add the nosing overhang you want. Most residential code requires a nosing projection between 3/4 inch and 1-1/4 inches, so plan for that. If you are using pre-made treads with a bullnose edge, confirm how much of that edge will sit past the riser before you cut.
Risers need to sit flush against the stringer at the sides and meet the tread above without gaps. They get cut to the exact width — no extra relief — because any gap will telegraph light from the floor below. Use a table saw for long rip cuts and a miter saw for crosscuts to keep ends square.
Material hardness dictates how you approach the cut. The table below summarizes three common tread materials.
| Material | Blade recommendation | Edge splintering risk | Expansion allowance needed |
|---|---|---|---|
| Solid hardwood (oak, maple) | 80-tooth crosscut blade | High on exit side | 3/16 inch per side |
| Engineered wood | 60-tooth fine-finish blade | Low (scoring recommended) | 1/8 inch per side |
| Particle board laminated | Carbide-tipped general purpose | Medium (tape supported) | 1/16 inch per side |
Always scribe cut lines on the face side of the material and cut finish-side down when using a circular saw. This buries any chip-out on the bottom where it will be hidden by the riser or glue bed.
Step 3: Install the Risers First (Bottom to Top)
The foundational logic of stair construction is that water, light, and visual lines move downward. Installing the bottom riser first means each subsequent riser sits on top of the tread below it, and every tread nose then overlaps that riser like a shingle. Start at the very first step at floor level and work upward.
- Dry-fit the riser. It should slide in snugly against both stringers and rest flat against the sub-tread above.
- Apply a continuous 1/4-inch zigzag bead of construction adhesive to the back of the riser, staying 1 inch away from all edges.
- Press the riser into place and immediately check for plumb with a 4-foot level. Shim the bottom edge if there is any outward lean.
- Fasten with 2-inch 18-gauge brads driven through the face into the stringer on each side and into the sub-tread above. Space nails 6 inches apart.
- If the riser material is paint-grade MDF or poplar, set each nail slightly below the surface with a nail set. Fill later.
Walk away for at least an hour before moving to the tread above that riser. The glue needs initial grab to avoid popping when you step on the tread during installation.
Step 4: Install the Treads (With Nosing Overhang)
With the risers locked in, each tread now slips in from above. The sequence is the same as the riser: dry-fit, glue, set, and fasten. The difference is that the tread requires a controlled overhang that masks the riser top edge completely.
Lay a full bed of adhesive on the sub-tread — not just a bead — using a notched trowel with 1/4-inch notches. This bridges any minor hollows in the old structure. Press the tread down firmly and shift it forward until the nosing projects the planned amount past the riser face. Check the nosing projection at three points across the width. A 1/16-inch variation is acceptable; anything larger will catch the eye from below.
Fastening method depends on the material and whether the staircase is open on one side.
| Method | Hold strength | Surface marks | Best used for |
|---|---|---|---|
| Adhesive only | Medium (shear dependent) | None | Luxury vinyl treads, prefinished surfaces |
| Adhesive plus face nails | High | Visible (need filling) | Paint-grade or stain-grade with wood plugs |
| Adhesive plus blind screws from below | Very high | Hidden | Open-riser stairs with access underneath |
Whichever method you pick, avoid walking on the new treads for the full adhesive cure time. Block the staircase from above and below to prevent an accidental step that could shift the still-plastic glue line.
Special Considerations: Underfloor Heating and Material Differences
Homes with hydronic or electric underfloor heating that extends through the stair carriage require a different set of rules. Heat cycling causes differential expansion between the tread material and the wooden stringer. If you treat it like a regular cold staircase, you will hear popping sounds within a single heating season.
Select an adhesive rated for continuous service above 140°F. Most standard construction adhesives soften at those temperatures and lose their bond. Choose a high-temperature polyurethane or a flexible silane-modified polymer. Leave a consistent 2 mm expansion gap on each side of the tread — not just 1/8 inch — and fill it with a color-matched elastic sealant rather than rigid wood filler.
Never drive nails or screws directly into a tread while the heating mat or pipe is live beneath it. Even a small nail can penetrate a hydronic pipe. If you must affix nails, shut off the heating circuit and mark the exact positions of the heating elements on the sub-tread before you begin.
The material you choose influences installation effort and long-term stability. Engineered wood, for example, handles thermal and moisture swings with far less movement than solid hardwood, making it a strong candidate for heated stairs or seasonal cabins. A quick material comparison helps clarify where each type belongs.
| Factor | Solid Hardwood | Engineered Wood | Particle Board |
|---|---|---|---|
| Dimensional stability | Moderate | High | Low (moisture-sensitive) |
| Installation difficulty | Medium (pre-drilling needed) | Medium (glue-and-nail) | Easy |
| Underfloor heating compatibility | Limited | Yes (with flexible adhesive) | No |
| Typical cost per tread (unfinished) | $35–$65 | $30–$55 | $15–$30 |
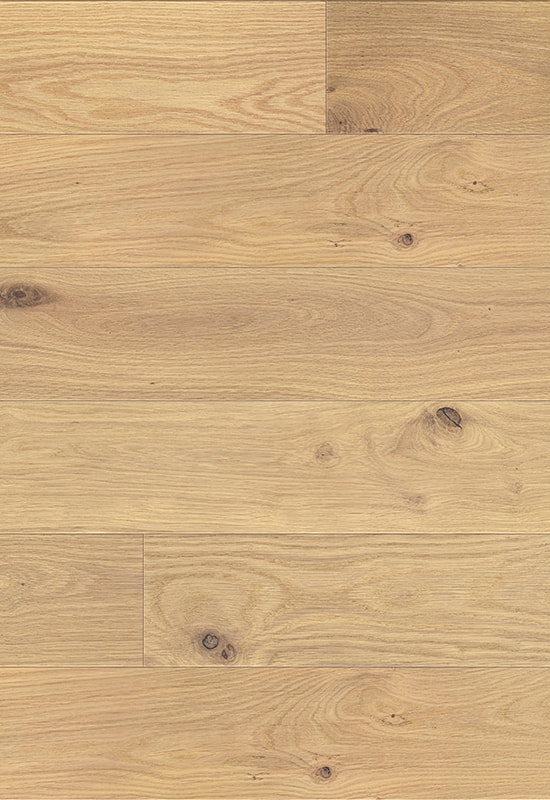
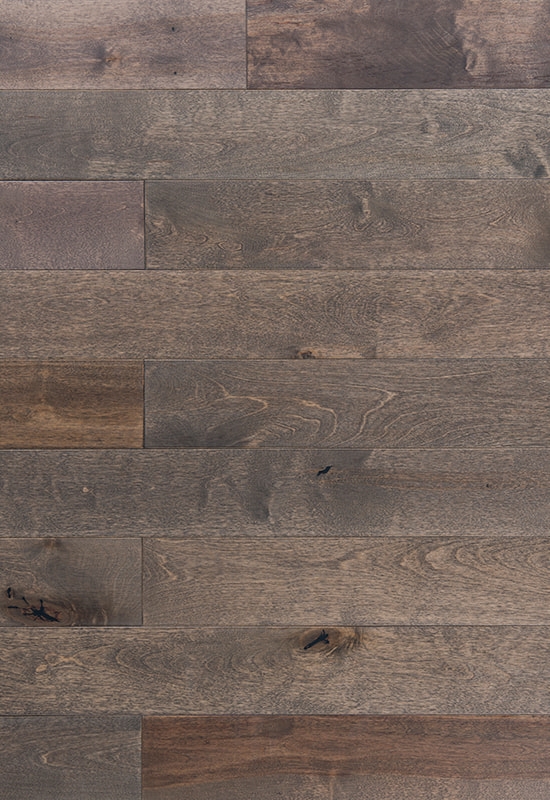
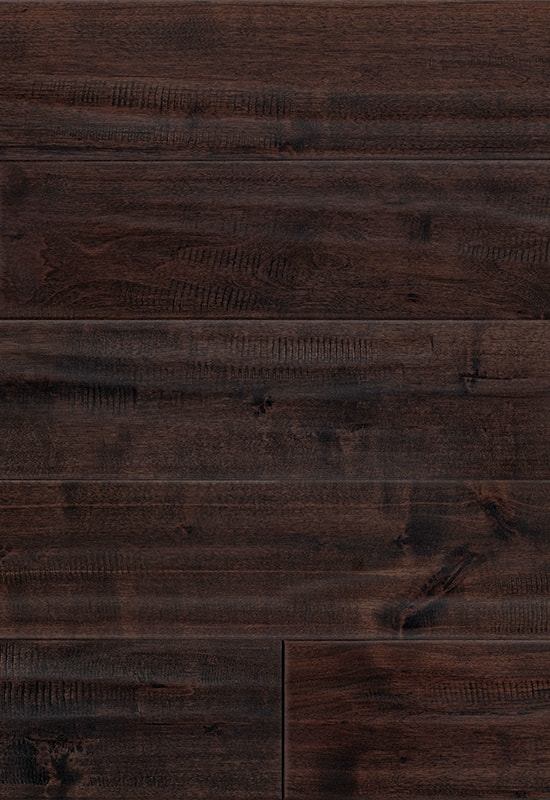
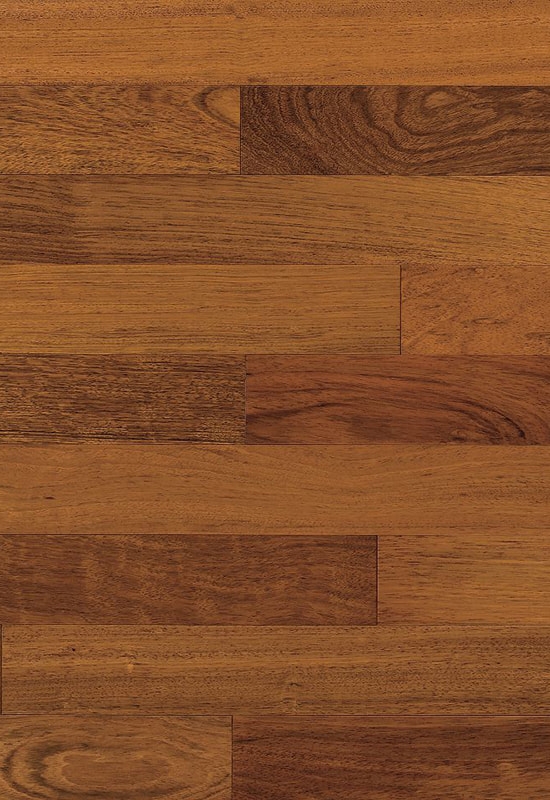
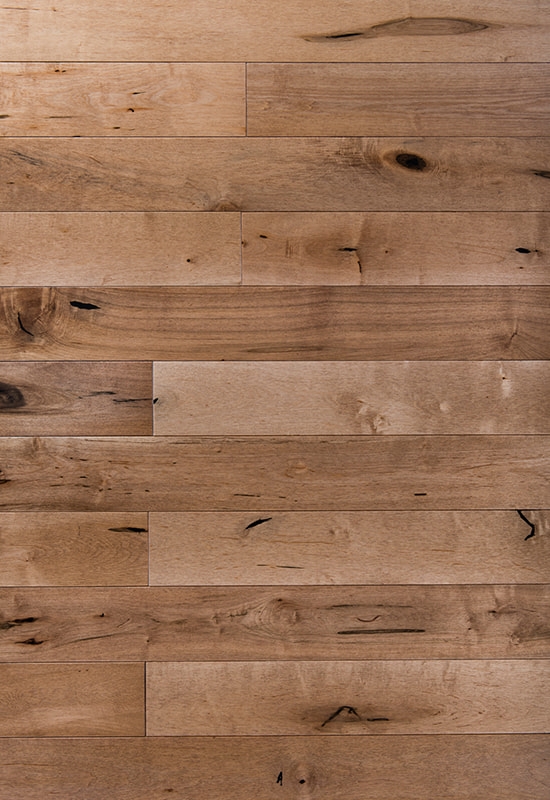
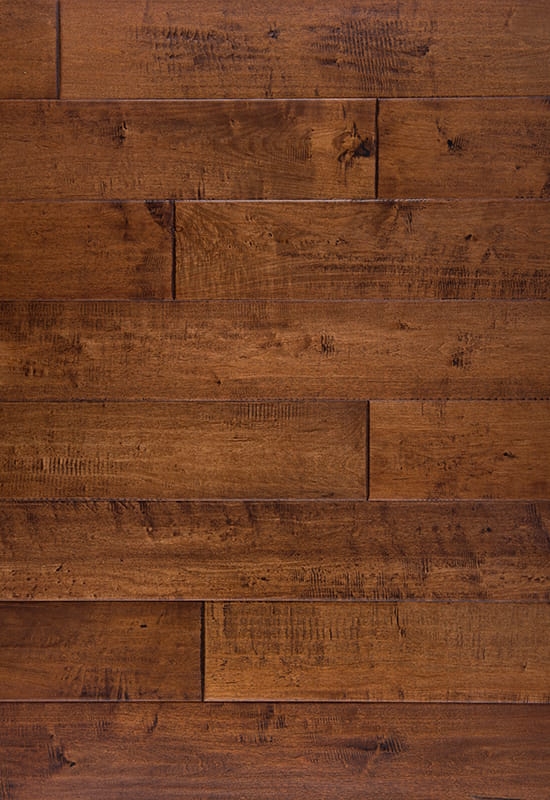
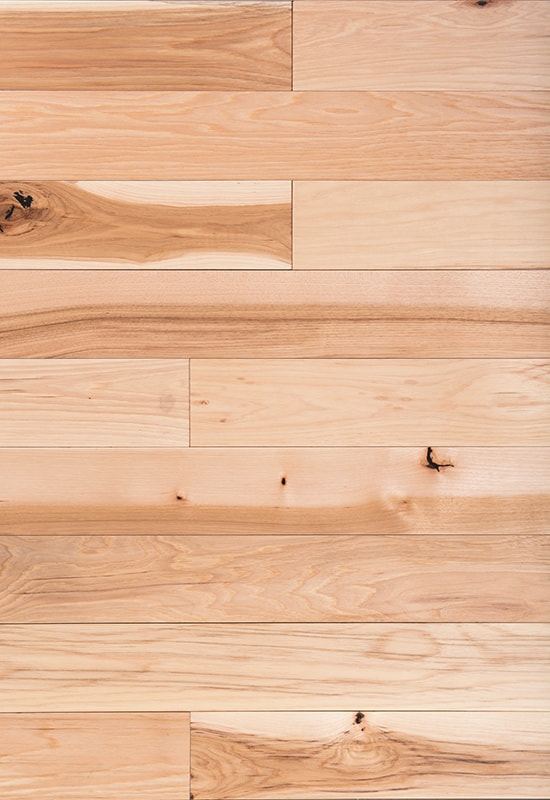
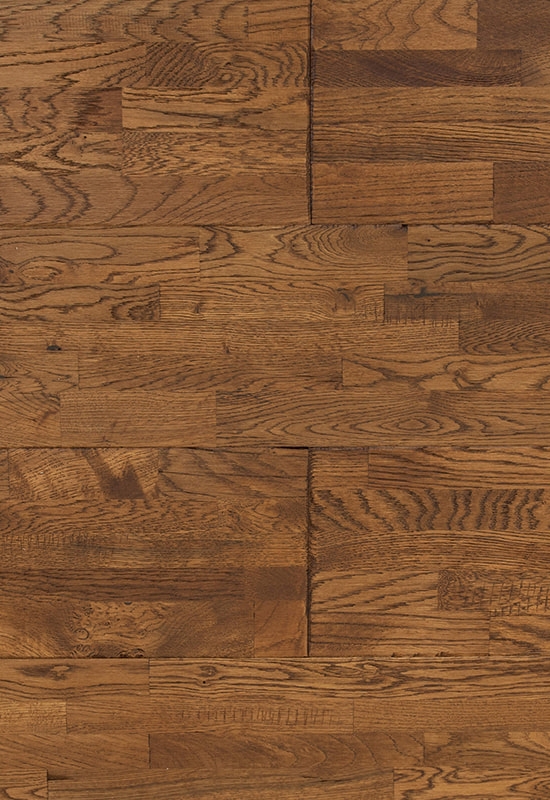
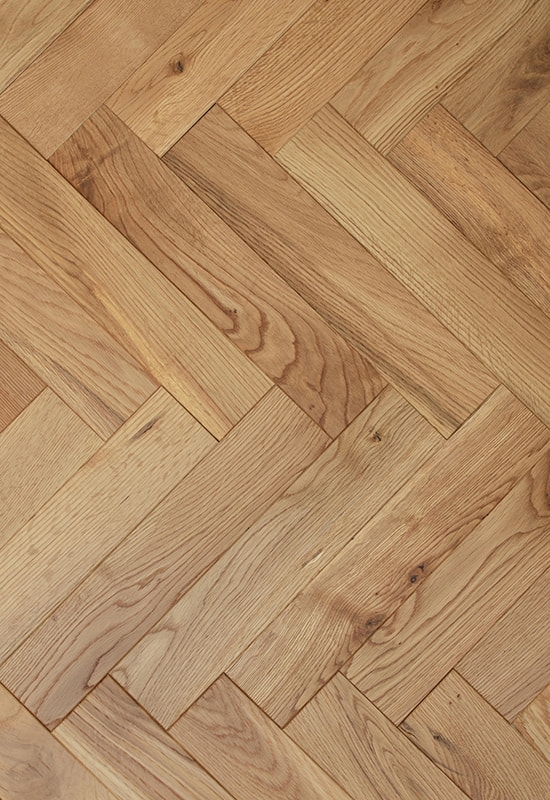
For many remodel projects that call for a wood look on stairs, engineered wood flooring pre-finished with a durable wear layer reduces job-site time dramatically. The same planks can run continuously from the floor onto the stairs with matching nosings, creating a seamless visual flow.
Finishing Touches: Nosing, Trim, and Caulking
With every tread and riser secure, the staircase is structurally complete but visually unfinished at its edges. If either side of the staircase is open, you need to cap the exposed end with a stair nosing that matches the tread profile. Glue the nosing into place with the same adhesive used for the treads, clamp or tape it until cured, and install a few hidden pocket screws from the underside of the tread if access exists.
Where the bottom tread meets the floor, use a flush T-molding or a reducer strip to transition. The top tread often terminates into a landing with a similar transition piece — pre-made nosings designed for engineered flooring match both height and color. Run a thin bead of flexible, paintable caulk along every joint where the tread meets the stringer skirt board. This seals the expansion gap without restricting movement.
For stained treads, wood filler that matches your stain color can be used to cover nail holes, but test it on a scrap piece first. Embossed or wire-brushed textures hide filler marks better than smooth surfaces. Finally, go over every step with a tack cloth and apply a coat of finish that matches the existing floor sheen exactly — satin over satin, matte over matte. A mismatched luster will make even a perfect installation look like an afterthought.

 +86-572-2118015
 No.598. Gaoxin Road, Huanzhu Industrial Zone, Huzhou City, Zhejiang Province, China, 313000