

 Eng
Eng  English
 中文简体
中文简体 Français
Content
- 1 Is Parquet Flooring Right for Your Project?
- 2 Tools & Materials You’ll Need
- 3 Preparing Your Subfloor: The Most Critical Step
- 4 Measuring & Laying Out Your Pattern (Herringbone & Chevron)
- 5 Installation Methods: Floating vs. Glue‑Down
- 6 Cutting Around Obstacles (Door Frames, Pipes, Corners)
- 7 Finishing Touches: Expansion Gaps, Trim & Transition Strips
- 8 Post‑Installation Care & Common Problem Fixes
Is Parquet Flooring Right for Your Project?
You’ve just opened a carton of parquet flooring and the reality hits: the room isn’t square, the subfloor looks questionable, and the herringbone pattern you love demands mathematical precision. Before you commit to a DIY install, it’s crucial to evaluate whether parquet—especially the intricate patterns—aligns with your skill level, budget, and the room’s demands.
Engineered parquet outperforms solid wood in most residential settings. Its layered construction resists expansion and contraction, which means fewer gaps and a more forgiving install. Below is a quick comparison to help you decide which material suits your space.
| Factor | Solid Parquet | Engineered Parquet |
|---|---|---|
| Installation method | Glue‑down only | Click‑lock floating or glue‑down |
| Acclimation time | 7–14 days | 48 hours |
| Suitability for concrete subfloor | Requires heavy‑duty moisture barrier | Can be floated directly with underlayment |
| Radiant heating | Not recommended | Yes (HDF core optimal) |
| DIY‑friendliness | Moderate (professional often needed) | High (click systems simplify alignment) |
If you’re working with a concrete slab or plan to install over underfloor heating, engineered parquet is the clear winner. An HDF-core engineered floor is up to 5× more dimensionally stable than solid wood, making it far less likely to cup or gap after installation. Factor in the room’s traffic and humidity levels, and you’ll avoid choosing a product that fights the environment from day one.
Tools & Materials You’ll Need
Rushing to the hardware store without a complete list often leads to multiple trips. Below is a breakdown of what’s essential and what’s nice to have, so you can start the job with everything on hand.
All adhesives, underlayment, and transition strips must match your specific parquet system. For a comprehensive selection, browse the flooring accessories tailored to engineered wood installations.
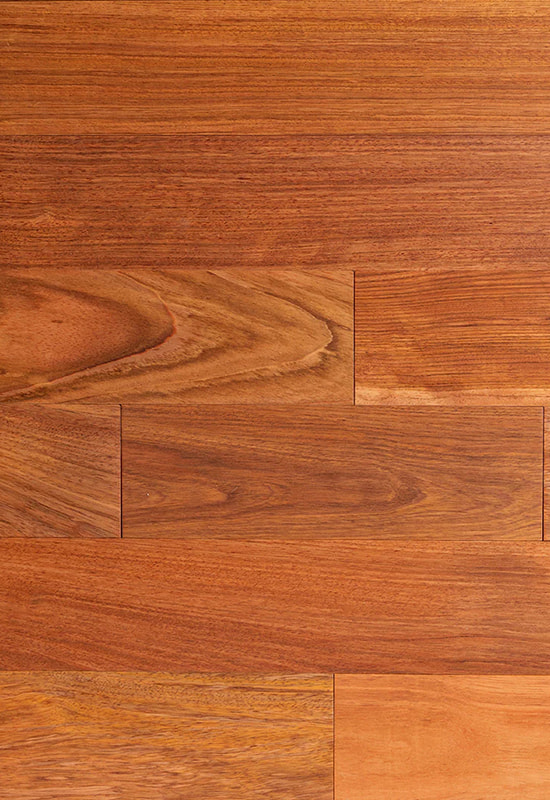
| Tool | Purpose | Essential? |
|---|---|---|
| Tape measure (25 ft) | Room and plank measurement | Yes |
| Chalk line or laser level | Center line and layout | Yes |
| Rubber mallet & tapping block | Seating planks without damage | Yes |
| Pull bar | Closing end joints near walls | Yes |
| Spacers (various thicknesses) | Maintain expansion gap | Yes |
| Jigsaw with fine‑tooth blade | Cutting notches and curves | Yes |
| Utility knife | Trimming underlayment | Yes |
| Notched trowel (for glue‑down) | Spreading adhesive evenly | Yes (if glue‑down) |
| Angle grinder or undercut saw | Undercutting door frames | Recommended |
| Moisture meter | Checking subfloor moisture | Recommended |
Materials include the parquet tiles or planks themselves, a suitable vapor‑barrier underlayment for floating floors, and, for glue‑down jobs, a high‑performance wood flooring adhesive. Don’t forget matching trim, baseboards, and doorway transition strips——they give the floor a finished look and protect the exposed edges.
Preparing Your Subfloor: The Most Critical Step
Here’s a statistic that every installer learns the hard way: over half of all parquet failures trace back to subfloor defects, not the flooring product. A surface that looks flat to the eye may still have dips that telegraph through the pattern months later.
The industry standard requires no more than 3 mm of variation over a 2‑meter straightedge. Use a long level or a straight plank to check the entire floor. Any spots that exceed this tolerance must be leveled before you proceed.
Concrete subfloor
Concrete slabs hide moisture. Run a calcium chloride test or use an electronic moisture meter. If readings exceed the flooring manufacturer’s limit—typically 3 lbs/1,000 ft² for engineered wood—apply a two‑part epoxy moisture barrier. Fill low spots with a self‑leveling compound. For floating installations, roll out a 6‑mil polyethylene vapor barrier under the underlayment.
Wood subfloor
Secure loose boards with screws, not nails, to stop future squeaks. Sand down high seams and fill gaps with a leveling patching compound. If the subfloor is oriented strand board (OSB), ensure the surface is sanded smooth; rough patches prevent the adhesive from bonding properly in glue‑down applications.
Existing tile or vinyl
If the old flooring is sound and flat, you can often install directly over it. Grind down any lippage between tiles and fill grout lines so they won’t telegraph through thin parquet. However, if the subfloor underneath is unsure, it’s safer to remove the old layer entirely.
Engineered parquet with an HDF core handles minor irregularities better than solid wood because its high‑density fiberboard layer doesn’t warp under stress. Still, the time you invest in a perfectly flat substrate always pays off with a floor that stays silent and gap‑free.
Measuring & Laying Out Your Pattern (Herringbone & Chevron)
No two rooms are ever truly square, and parquet’s geometric patterns will ruthlessly expose any deviation. The secret to a flawless layout is establishing the room’s true center and two perpendicular reference lines. For herringbone and chevron, those lines often run at 45 degrees to the walls, creating the classic diamond‑like visual flow.
Start by measuring the room’s longest dimensions. Snap a chalk line down the center of the length, then another across the width. Where they intersect is your starting focal point. For a classic herringbone pattern, you want the planks to form a 90‑degree V‑shape at the centerline. Run a third line at exactly 45 degrees through the center point. A 3‑4‑5 triangle will confirm the angle is true.
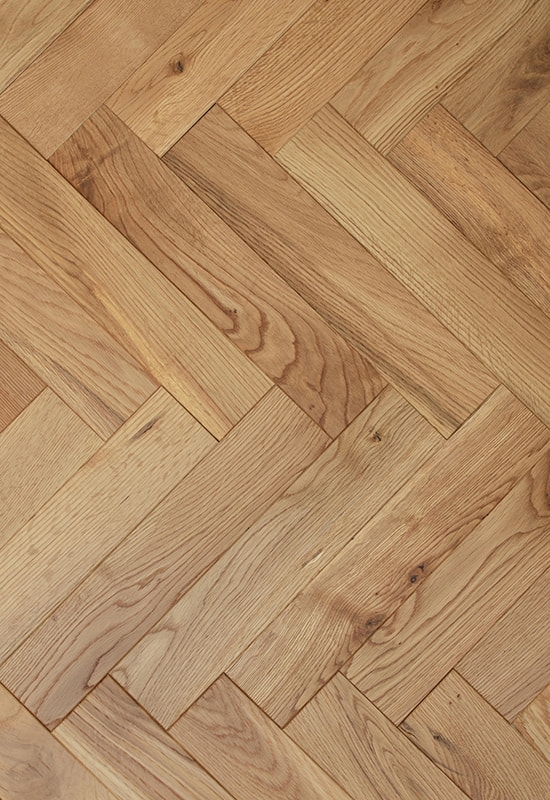
Lay out a few dry planks along this 45‑degree line to see how the pattern meets the walls. Adjust the starting point left or right until the trimmed edge planks will be at least half a plank wide—this avoids awkward slivers. Mark the final starting position and snap a crisp line. With the guide line in place, every subsequent row locks into the correct geometry as long as you keep the short and long tongues aligned.
Chevron is slightly different. The boards are cut at a 45‑degree miter and meet end‑to‑end in a straight running line. Instead of the herringbone’s staggered L‑shaped block, you’ll install a continuous spine down the center. Dry‑lay the first spine row, checking that the points align exactly with your center mark. Any deviation here will send waves through the entire floor.
No matter which pattern you choose, account for the pattern’s direction in relation to the room’s light source and main entrance. Installing the pattern parallel to the longest wall usually elongates the space. For additional design inspiration, explore our herringbone parquet and chevron flooring collections, which show how different widths and finishes change the room’s character.
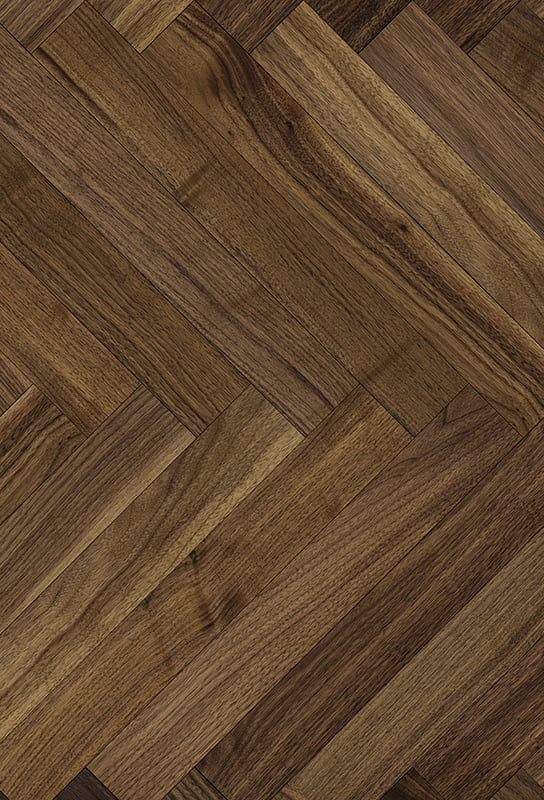
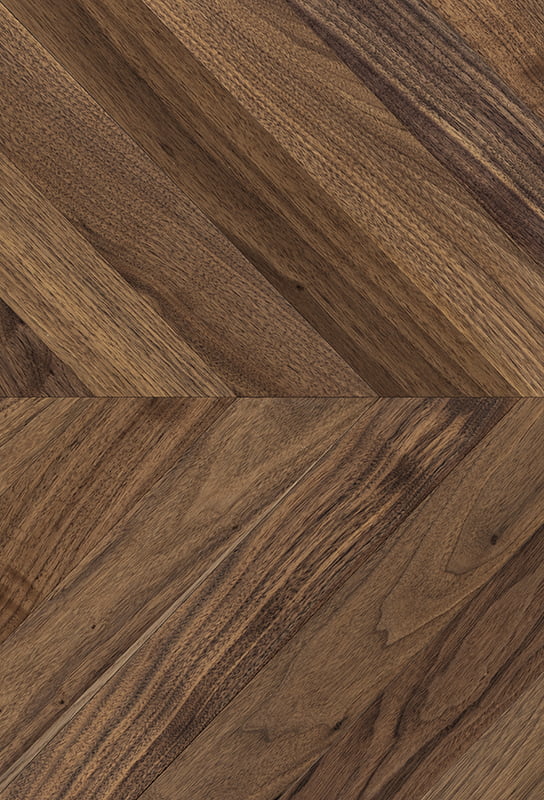
Finally, always over‑order. A straight‑lay plank floor needs about 5 % extra for waste. For herringbone, bump that to 8–10 %, and for chevron, plan for 7–9 %. The precise angles demand more cuts, and you’ll want matching planks from the same batch for any repairs later.
Installation Methods: Floating vs. Glue‑Down
Your installation method determines how the floor handles sound, temperature, and long‑term stability. Both floating and glue‑down approaches work beautifully with engineered parquet, but they serve different priorities.
| Aspect | Floating (Click‑Lock) | Glue‑Down |
|---|---|---|
| Sound insulation | Good with acoustic underlayment | Excellent, minimal hollow sound |
| Radiant heat efficiency | Lower; underlayment acts as insulator | Higher; direct contact transfers heat |
| Single plank replacement | Easy to disengage and replace | More involved; requires adhesive release |
| Subfloor flatness tolerance | Slightly more forgiving | Demands very flat surface |
| Dry time before use | None; walk on immediately | 24 hours minimum for adhesive cure |
Floating Click‑Lock Installation
- Roll out the underlayment perpendicular to the plank direction, butting seams and taping them securely.
- Begin in the left corner of the room. Insert spacers against all walls to maintain an 8–10 mm expansion gap.
- Angle the first plank’s long tongue into the groove of the plank beside it, then lower it flat. A distinct click confirms the lock.
- Use a tapping block and rubber mallet on the short end to close joints, always tapping through a scrap piece to avoid edge damage.
- Continue row by row, staggering end joints by at least 30 cm. For herringbone, you’ll build the pattern outward from the center instead of working row‑by‑row.
- The last row will likely need to be ripped to width. Use a pull bar to snap the final planks into place.
Glue‑Down Installation
- Spread adhesive with the recommended notched trowel over a section no larger than you can cover in 20 minutes—most urethane adhesives have a limited open time.
- Press each plank firmly into the adhesive, sliding it slightly to spread the glue, then pat it down. Immediately clean any adhesive that squeezes up between joints with a manufacturer‑suggested cleaner.
- After laying a few square meters, roll the floor with a 35‑kg floor roller to achieve full contact. Keep spacers in place along the perimeter.
- Do not walk on the floor for at least 24 hours. Heavy furniture should wait 48 hours.
If you’re installing over radiant heating, glue‑down is the smarter choice because it eliminates the thermal break created by underlayment. Engineered planks with an HDF core are particularly well‑suited here, as they transfer heat efficiently while remaining stable.
Cutting Around Obstacles (Door Frames, Pipes, Corners)
Obstacles are where a clean installation can turn messy. The goal is to maintain the expansion gap while making the cut look intentional.
For door frames, the cleanest method is to undercut the casing. Place a piece of underlayment and a scrap plank against the frame, then use a handsaw to cut horizontally. The plank and gap spacer act as your depth guide, so the finished board slides neatly underneath.
Pipes require a notch hole. Measure the distance from the wall to the pipe center and transfer that to the plank. Drill a hole slightly larger than the pipe diameter, then saw a V‑shaped notch from the edge of the board to the hole. The cut‑out piece can be glued back behind the pipe to close the gap, though some installers prefer to use a split‑ring escutcheon as a neater visual treatment.
When you hit a corner that isn’t square, use a scribing block or a contour gauge to transfer the irregular profile onto the plank. Cut with a jigsaw and test‑fit frequently. Small deviations can be fine‑tuned with a sharp chisel.
Always remember to maintain the expansion gap around pipes and fixed objects. A 5 mm clearance, filled with a flexible sealant, allows the floor to move without trapping stress.
Finishing Touches: Expansion Gaps, Trim & Transition Strips
The expansion gap is not optional; wood needs room to breathe. After the last plank is in, remove all spacers and install the moldings that will cover the gap while still permitting movement.
The standard perimeter gap is 8–10 mm for rooms up to 6 m in length. For spaces longer than 6 m, you’ll need to incorporate an intermediate expansion joint—essentially a T‑molding that gives the floor a break. In doorways, a threshold or reducer strip accommodates the height difference between the parquet and the adjacent flooring.
| Location | Minimum Gap | Covering Trim |
|---|---|---|
| All fixed walls | 8–10 mm | Baseboard or quarter‑round |
| Around pipes | 5 mm | Pipe rosette or sealant |
| Under door jambs | 5 mm | Undercut jambs; no trim needed |
| Room‑to‑room transition | 10 mm | T‑molding |
Fasten the baseboards or quarter‑round to the wall, never to the floor itself. The trim must float above the planks so the floor can contract and expand freely underneath. For a seamless look, pre‑paint or stain the trim to match the floor before installation, then touch up nail holes after it’s secured.
Post‑Installation Care & Common Problem Fixes
You’ve sunk hours into the layout, yet a beautiful floor still needs a careful first week. Treat the new parquet gently: light foot traffic is fine after 24 hours, but heavy furniture and area rugs should wait 48 hours. For glue‑down jobs, follow the adhesive manufacturer’s cure time—even if the surface feels dry.
First cleaning should use a microfiber mop lightly dampened with a pH‑neutral wood floor cleaner. Soaking the floor with water or using a steam mop can ruin the bond between the veneer and core. Place felt pads under all furniture legs and keep a mat at exterior doors to trap grit.
Despite your best efforts, issues can appear. Here are the three most frequent complaints and their practical fixes.
| Problem | Common Cause | Solution |
|---|---|---|
| Gapping between planks | Low indoor humidity (below 35 %) or insufficient acclimation | Raise humidity with a humidifier to 45–55 % and monitor over two weeks. Gaps often close on their own. |
| Floor buckling or lifting | Expansion gap too small or trapped moisture | Remove baseboard and trim the perimeter planks to restore the gap. If moisture is the culprit, address the source before re‑trimming. |
| Squeaking or popping sounds | Subfloor movement, dirt in the locking system, or inadequate adhesive coverage | For floating floors, inject a small amount of dry lubricant (talcum powder) into the noisy joint. For glue‑down, weight the area for 48 hours to re‑bond. |
With these steps, your parquet floor can last decades. A little preventive care and a few quick fixes will keep the pattern as striking as the day you installed it.

 +86-572-2118015
 No.598. Gaoxin Road, Huanzhu Industrial Zone, Huzhou City, Zhejiang Province, China, 313000