Tools & simple supplies you'll want
Before you start identifying your hardwood floor, gather a few inexpensive items: a bright flashlight (or phone torch), a 10–20× jeweler's loupe or magnifier, a small utility knife or razor (for lifting a seam carefully), fine sandpaper (120–220 grit) for a tiny test scratch, a thin screwdriver or putty knife, and a digital scale or ruler if you want to measure plank thickness. These let you inspect grain, edge profiles, and finish without guessing.
Step-by-step process to identify your floor (practical, low-damage)
1. Start with a visual survey
Walk the room under daylight and with your flashlight at a low angle across the planks (raking light). Look for grain patterns (straight, wavy, cathedral arches), prominent growth rings, medullary rays (flecks), and color variation between boards. Note whether boards are narrow (2–3" typical older hardwood) or wide planks (4"+ common in modern/renovation installs).
2. Examine the edge and underside
Carefully pry up a moulding or lift a threshold with a putty knife to view the plank edge or the floor's underside where the board meets a wall. Solid-sawn plank will usually be the same material through the thickness; engineered flooring will show distinct layers (a thin hardwood veneer over plywood or HDF). Note the presence of tongue-and-groove machined edges and how thick the wear layer looks.
3. Do a tiny finish test
At an inconspicuous spot (inside a closet or under a wardrobe), lightly sand an area ~1/2" with fine sandpaper until the finish is removed. Solid wood will show consistent color (heartwood/sapwood) through the thickness; engineered will show a thin face layer (1–6 mm) with different material beneath. This also reveals the wood’s true color before stain/finish.
4. Inspect grain, pores and rays closely
Use the loupe. Open-grained species (oak, ash) show large, visible pores and often medullary rays—tiny ribbon-like flakes visible in quartersawn oak. Close-grained species (maple, cherry) have tight, hard-to-see pores and a smoother appearance. Walnut typically has a more open, silky grain with darker heartwood; hickory shows dramatic color contrast between sapwood and heartwood.
5. Use hardness and feel cues (careful)
If safe to test, press a fingernail or small metal tool lightly into a hidden edge—softwoods (pine) dent easily; hardwoods resist. For a non-invasive estimate, try a coin scratch in an unnoticeable place after sanding; harder woods like maple or hickory show much less marking than pine or cherry. Avoid aggressive tests that will harm your floor.
How to tell engineered vs solid hardwood
Engineered hardwood is manufactured with a thin hardwood top veneer bonded over multi-ply plywood, HDF, or softwood core. It is identified by viewing a plank cross-section (beneath moulding or at an exposed end): look for alternating layers or a thin top layer. Solid hardwood is a single piece of wood throughout and can usually be sanded and refinished multiple times. Wear-layer thickness (face veneer) is the key: less than ~3mm is limited refinement potential; 4–6mm allows 1–2 refinishes; >6mm is similar to solid wood.
Common species, quick ID tips, and Janka hardness (practical table)
Below is a compact reference covering the most common domestic and popular exotic species, with identification cues and approximate Janka hardness to help you gauge durability. Use this with your loupe observations.
| Species | Look / Grain | Typical Color | Approx. Janka (lbs) | ID tips |
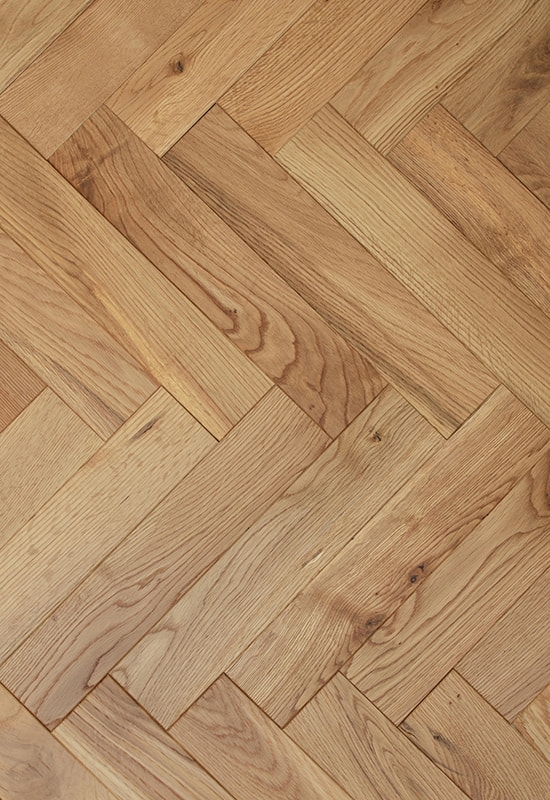
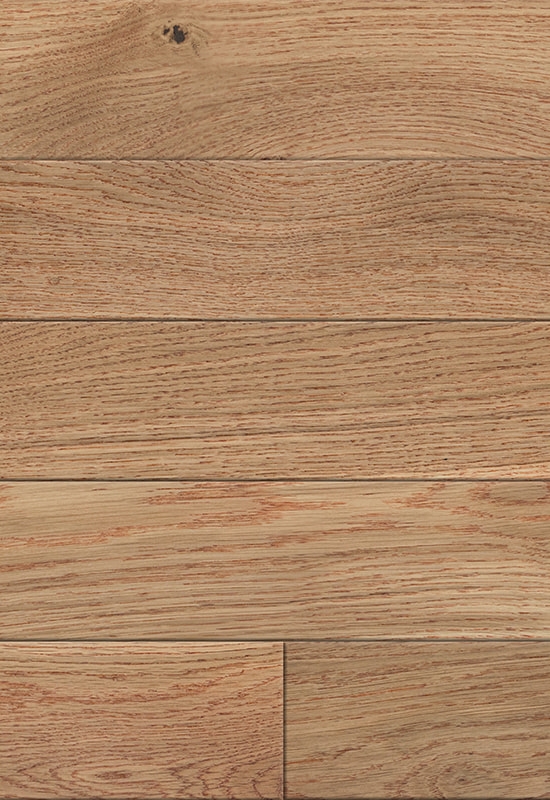
| Red Oak | Open grain, cathedral patterns, medullary rays visible when quartersawn | Light tan to reddish brown | 1290 | Large pores; rays in quarter-sawn. |
| White Oak | Tighter, straighter grain than red oak; rays visible | Pale brown to tan | 1360 | Slightly denser; used outdoors and in wine barrels. |
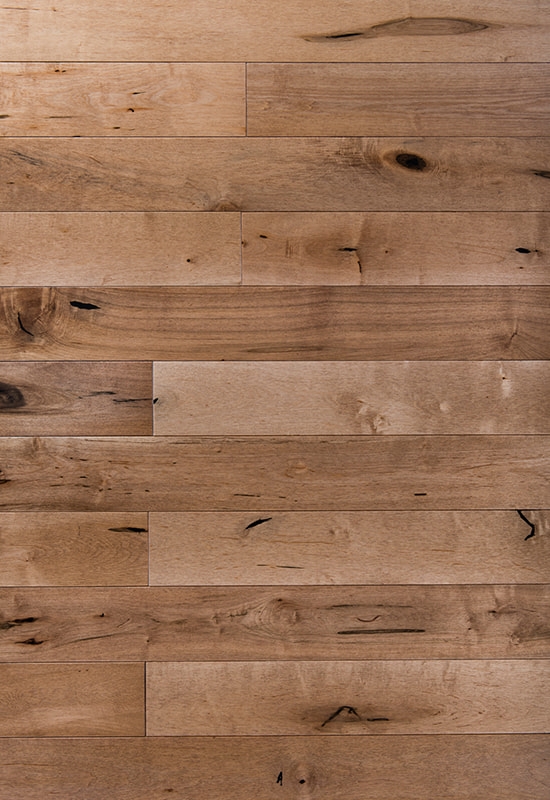
| Maple (Sugar) | Very fine, close grain; smooth appearance | Creamy white to light tan | 1450 | Hard, resists denting; hardly visible pores. |
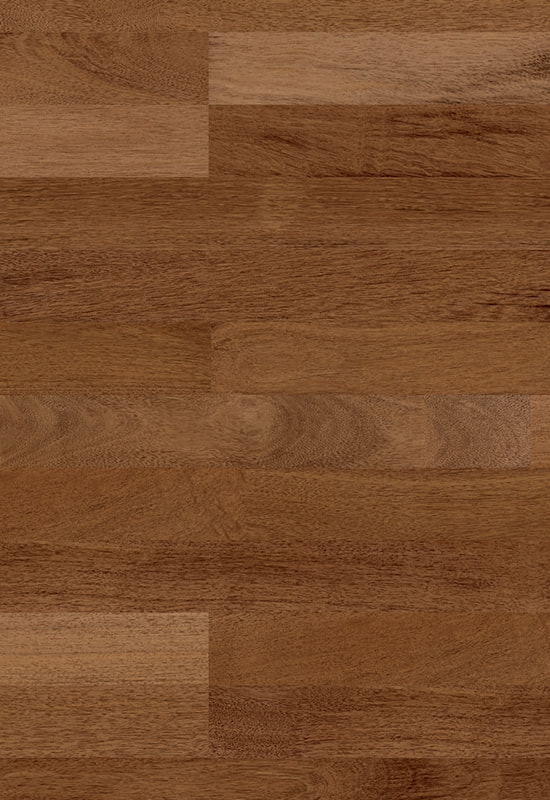
| Walnut | Straight to wavy grain; rich, deep tones | Chocolate brown to purplish brown | 1010 | Darker heartwood; often used unstained. |
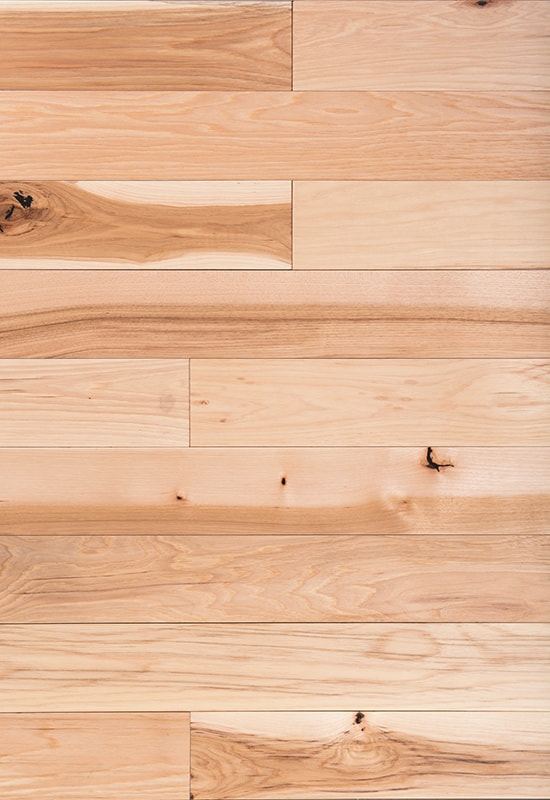
| Hickory / Pecan | Very pronounced grain and color contrast | Creamy sapwood with darker streaks | 1820 (hickory) | Strong color variation; very hard. |
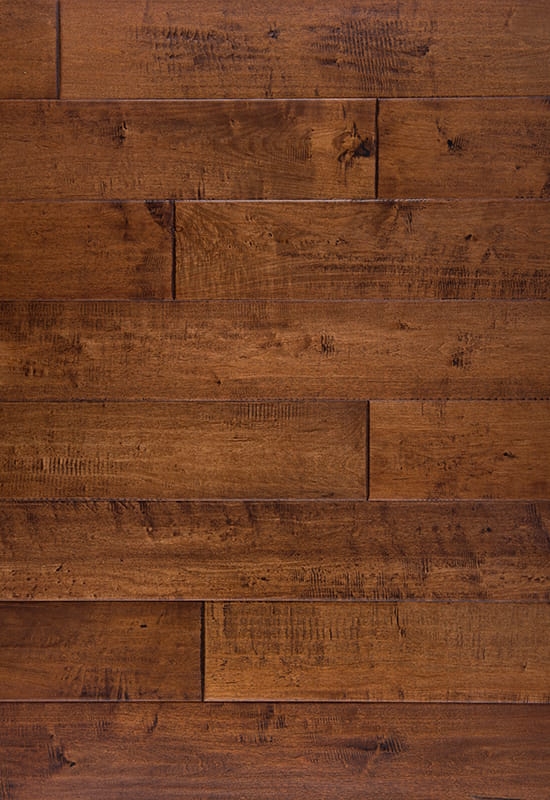
| Cherry | Fine, satiny grain; smooth, subtle figure | Reddish brown that deepens with age | 995 | Darkens over time; softer than oak/maple. |
| Pine (softwood) | Wide, pronounced growth rings; knots common | Pale yellow to amber | 380–870 (varies) | Soft, dents easily; often used for rustic floors. |
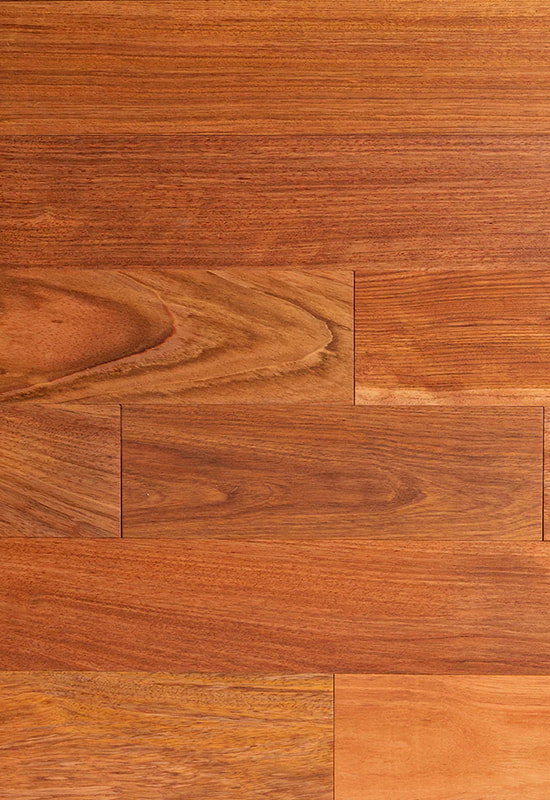
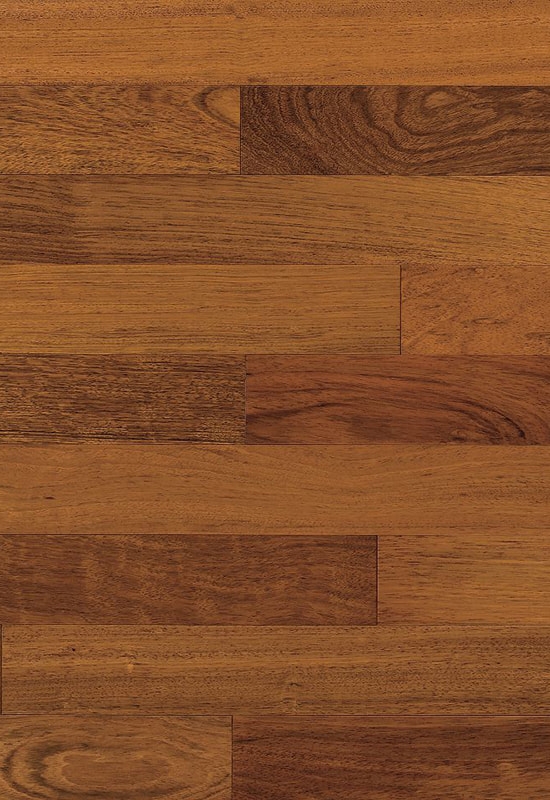
| Exotics (e.g., Jatoba / Teak) | Dense, interlocked grain; often rich red or golden tones | Deep red, brown, or golden | 2000+ (varies widely) | Very hard and dense; often used for durability. |
Visual clues unique to certain woods (short guide)
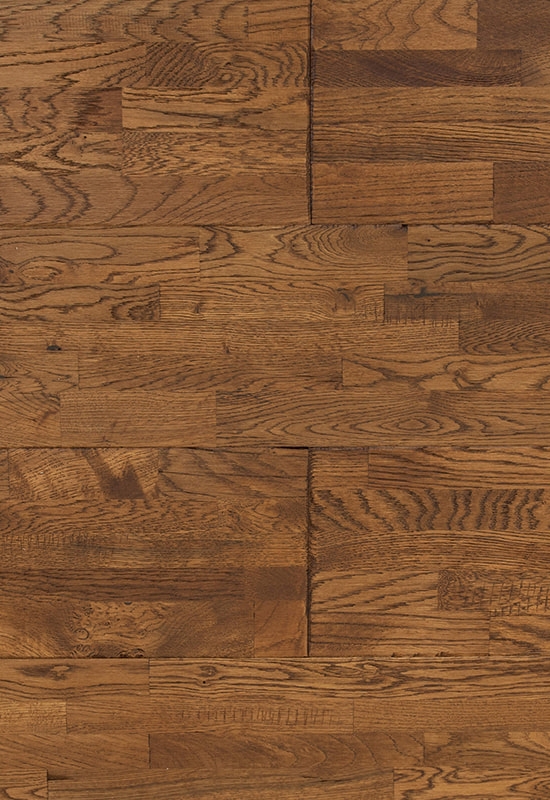
- Medullary rays & flecks: hallmark of oak (especially quartersawn white oak).
- Uniform, almost glassy face with little pore visibility: likely maple or birch.
- Strong color streaks alternating light and dark: hickory/pecan.
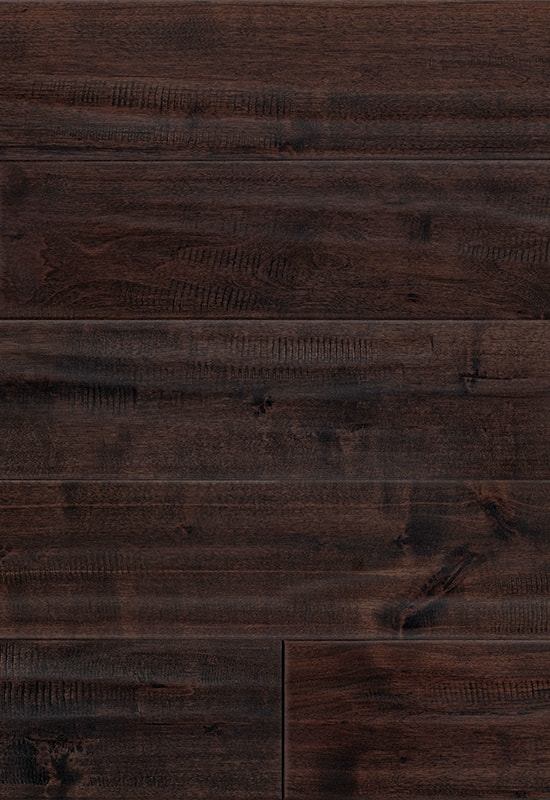
- Very dark, richly hued planks with straight grain: often walnut or some exotics.
When identification is ambiguous: professional checks & lab tests
If you're preparing for refinishing, resale, insurance, or matching replacement planks and you can't confidently identify the species, a hardwood flooring pro or millwork lab can take a small sample and confirm species (visual + microscopic analysis). Pros can also measure wear-layer thickness with specialized calipers and confirm engineered layer construction without destructive removal.
Care and refinishing guidance by common groups
Hard, dense species (maple, hickory, exotics)
These tolerate traffic well but may be harder to sand evenly because of density—use power sanders with aggressive abrasives and hire experienced refinishers. Expect fewer visible dents; refinishing intervals are long.
Open-grained species (oak, ash)
Open pores show dirt more easily; consider filling pores during refinishing for a smooth finish. Oak is forgiving to staining and widely available for repairs.
Softer woods (pine, cherry)
Expect dents and character marks; these species are often chosen for appearance rather than maximum durability. Use protective pads and consider oil finishes that hide dents better.
Quick troubleshooting: matching replacement planks
When matching replacement boards, remember that plank age, stain, UV exposure, and sanding depth all change visible color. If possible, bring a sample plank (from under a closet threshold or moulding) to the supplier. For engineered floors, match both species and wear-layer thickness. When an exact match is impossible, plan to refinish the whole floor for uniformity.
Final checklist before refinishing or repair
- Confirm solid vs engineered by inspecting an edge or under moulding.
- Identify species (use the table and grain cues) so you choose compatible stains/finishes.
- Measure wear-layer thickness on engineered boards to know how many sandings are possible.
- When in doubt, remove a small sample and consult a pro for microscopic identification.
Identifying your hardwood floor species and construction takes careful observation more than guesswork: use raking light, a magnifier, and a tiny, reversible finish test. The payoff is better-matched repairs, correct refinishing approaches, and a longer-lasting floor.


 English
 中文简体
中文简体 Français

 +86-572-2118015
 No.598. Gaoxin Road, Huanzhu Industrial Zone, Huzhou City, Zhejiang Province, China, 313000