

 Eng
Eng  English
 中文简体
中文简体 Français
Content
- 1 What the Adhesive Actually Has to Do
- 2 Adhesive Families Compared
- 3 Matching the Adhesive to Core Type and Pattern
- 4 Moisture Testing Before the First Pail Is Opened
- 5 Trowel Notch, Spread Rate and Open Time
- 6 Where Adhesive Still Applies in Floating and Nail-Down Work
- 7 Procurement, Warranty and Compliance Points for Buyers
- 8 A One-Page Specification Checklist
Adhesive is the least visible purchase on a glue-down engineered hardwood project, and the first component blamed when a floor fails: hollow spots underfoot, ridged seams, planks lifting at the ends, or a crackling sound that appears after the first heating season. On a 3,000 sq ft job, stepping down from a $48-per-gallon elastomeric adhesive to a $26-per-gallon construction-grade cartridge product saves roughly $1,300 in material and can cost twenty times that in tear-out, replacement flooring and labour.
Engineered hardwood is not one substrate. A 5 mm sawn white oak wear layer on a 12 mm plywood core behaves differently from the same wear layer on a 7 mm HDF core, and a herringbone field glued in a pattern concentrates stress differently again. The adhesive has to suit the backing, the slab and the climate the floor will live in.
What follows covers the adhesive families used with engineered hardwood, the jobsite numbers that decide whether a given product may be used at all, and the specification points that matter to importers, distributors and flooring contractors buying in volume.
What the Adhesive Actually Has to Do
A full-spread flooring adhesive performs four jobs at once, and a product that does three of them well is still the wrong product.
- Load transfer and flatness. The adhesive bed carries the floor and holds planks flat against normal slab variation. Glue-down tolerances generally assume the substrate is flat to about 3/16 in over 10 ft.
- Moisture vapour resistance. Rising vapour is the most common cause of cupping and adhesive breakdown. Some adhesives are rated as a vapour retarder at a specified thickness; most are not.
- Movement accommodation. Wood gains and loses width with relative humidity. The adhesive must flex enough to absorb that movement instead of passing it into the seams.
- Compatibility with the backing. Plywood, HDF and veneer backings absorb adhesive and release moisture differently, so the same pail can perform well on one construction and poorly on another.
Two failure modes explain most complaints. An adhesive that cures rigid transmits every bit of seasonal movement into the plank edges, which is how ridges and gapping appear. An adhesive that never fully cures creeps under static load, and heavy furniture leaves permanent depressions. Neither problem can be corrected later without pulling the floor.
Adhesive Families Compared
Four chemistries cover almost all engineered hardwood installations. The differences that matter on site are moisture tolerance, open time and how hard the cured film becomes.
| Family and cure mechanism | Typical substrate moisture limit | Open time | Spread rate | Best fit and watch-outs |
|---|---|---|---|---|
| Moisture-cure urethane, single component; reacts with ambient and substrate moisture | Often rated to 85-95% in-situ RH on concrete | 30-60 minutes | 30-45 sq ft per gallon with a 1/4 in x 1/4 in square notch | Heavy glue-down and high-moisture slabs. Hard bond, hard cleanup, skins quickly in hot humid weather. |
| Modified silane, or MS polymer; cures with ambient humidity, water-free and solvent-free | Commonly 75-95% RH depending on grade | 30-60 minutes | 35-50 sq ft per gallon | Premium plank and pattern work. Elastomeric, low odour, good for wide planks and herringbone. Highest material cost. |
| Water-based acrylic or PVA emulsion; dries as water evaporates | Usually limited to dry above-grade slabs, for example no more than 3 lb per 1,000 sq ft per 24 h by calcium chloride | 20-40 minutes | 40-60 sq ft per gallon | Budget residential over dry plywood or concrete. Low VOC and easy cleanup, but freeze-sensitive and it adds water to the assembly. |
| Two-part epoxy or reactive polyurethane, mixed on site | Highest tolerance; some systems double as a vapour barrier | 20-40 minutes pot life | 30-40 sq ft per gallon | Commercial kitchens and slabs without a working vapour barrier. Rigid film, unforgiving of mixing errors and short pot life. |
As a rule of thumb, MS polymer has become the default for premium plank and pattern work because it stays elastomeric without introducing water, while urethane is chosen where the slab reading is high and the specification calls for a hard, load-bearing bond.
Matching the Adhesive to Core Type and Pattern
HDF core construction
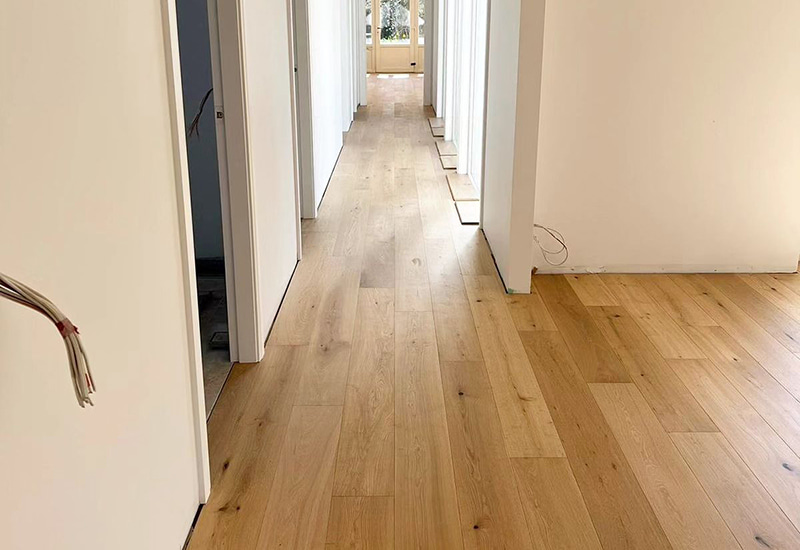
HDF cores are dense and resin-rich, so they absorb very little adhesive and swell less than a comparable plywood core. Spread rates tend to run at the higher end of the published range, and thin planks can be laid with less risk of edge lift. The trade-off is that many HDF floors are engineered as click systems, and full-spread bonding a click floor is normally not permitted unless the manufacturer publishes a glue-down instruction. Where it is allowed, expect a specific adhesive type and a specific trowel.
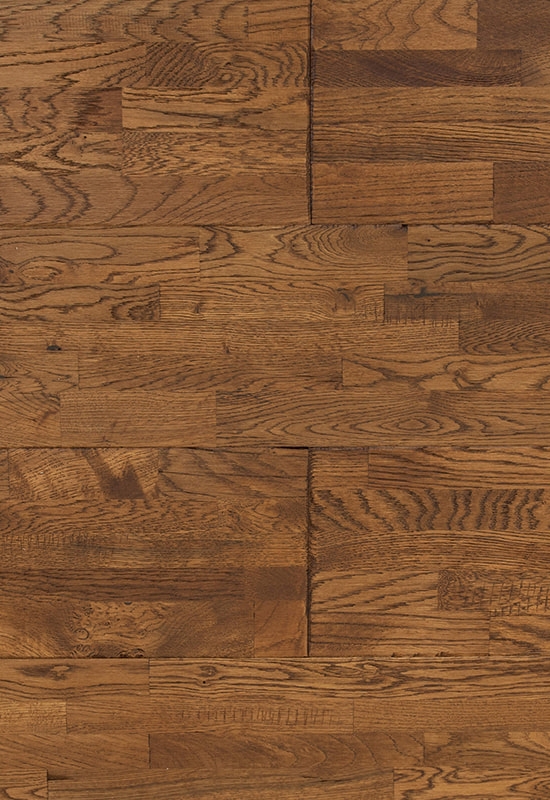
 Natural-White OakBrevel: Standard Bevel TypeView Product →
Plywood core construction
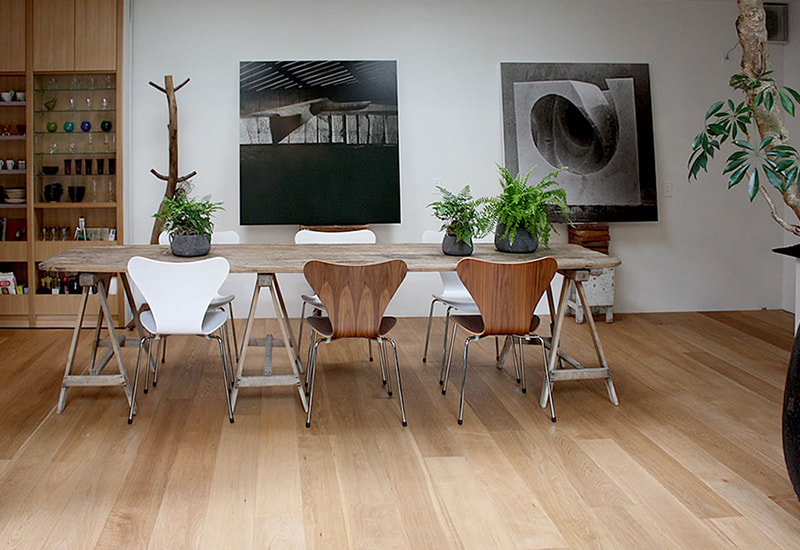
Plywood cores of 12-15 mm remain the classic glue-down target. They accept urethane and MS polymer well, tolerate the slight ridge height of a square-notch trowel, and recover from minor jobsite humidity swings. On plywood over a timber subframe, check fastener heads and joint level before spreading anything; a 1 mm proud screw head becomes a visible high spot once the adhesive sets.
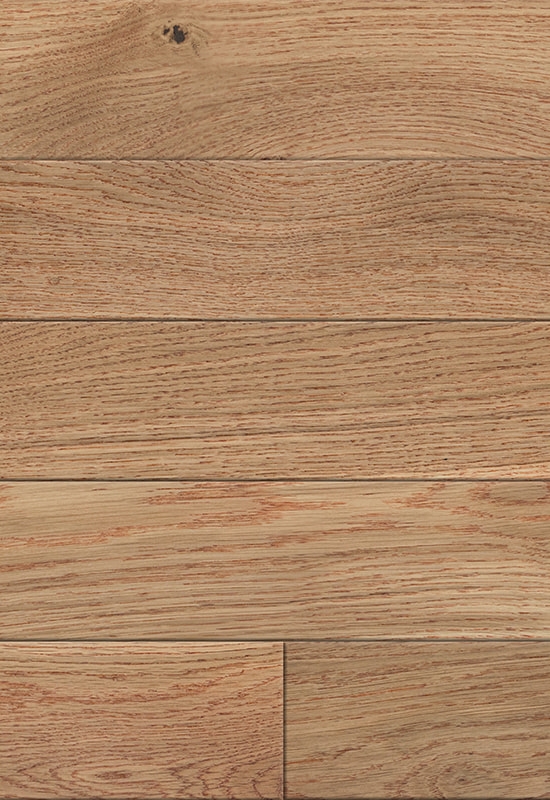
 Natural-White OakBrevel: Standard Bevel TypeView Product →
Herringbone, chevron and design parquet
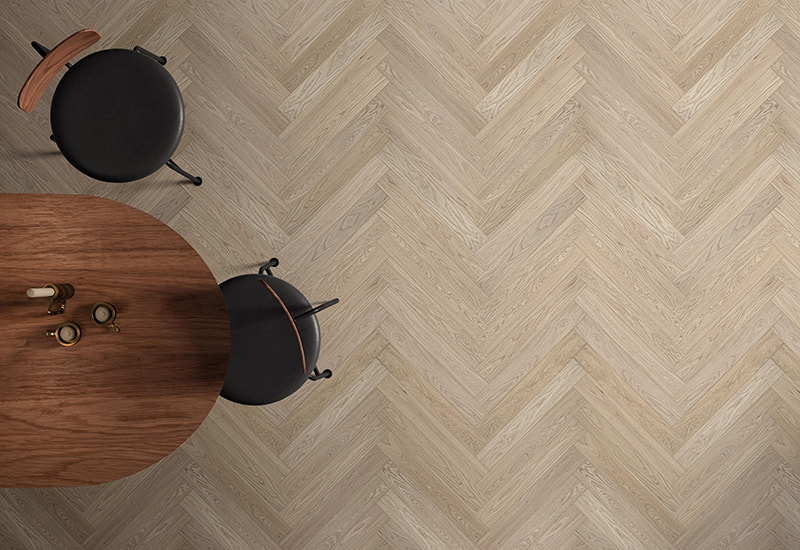
Pattern floors are almost always full-spread glue-down, because the interlocking geometry only works if every piece is locked to the substrate. Pattern work needs a longer open time than plank work: each piece is set individually, tapped and checked, so the adhesive may sit exposed for several minutes before the next unit lands. A water-free elastomeric adhesive with high green grab is the practical choice.
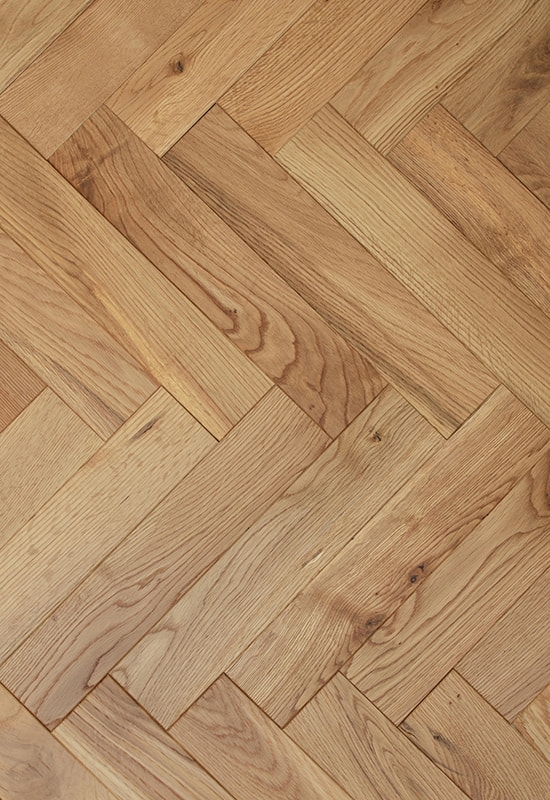
 Invisible Lacquer-La-White OakBrevel: Standard Bevel TypeView Product →
Installation method drives the adhesive decision as much as the wood does. A side-by-side look at floating, glue-down and nail-down methods for engineered flooring is worth reviewing before a specification is fixed, because changing method later changes the adhesive, the underlayment and the labour rate together.
Moisture Testing Before the First Pail Is Opened
Adhesive selection follows measurement, not assumption. A slab that looks dry and has been covered for two years can still read above the limit of a water-based adhesive.
- In-situ relative humidity, measured with probes drilled to 40% of the slab depth. Water-based systems are commonly capped at 75% RH; urethane and MS polymer products are often accepted to 85-95% RH. The project is judged on the highest reading, not the average.
- Calcium chloride testing, where the specification still calls for it, with a common ceiling of 3 lb per 1,000 sq ft per 24 h.
- Concrete pH. Readings between 7 and 10 are normally acceptable; above 10 the slab needs a primer or a different adhesive system.
- Wood moisture content of the flooring at delivery, typically 6-9% for engineered planks, checked against the acclimation instruction.
- Jobsite conditions held at 65-85 F and 35-55% relative humidity during installation and for at least 48 hours afterwards. Many adhesives stop curing below 50 F.
Record every reading with date, location, method and the instrument used. On a disputed floor, that log is the difference between a manufacturing claim and a site-condition charge.
Trowel Notch, Spread Rate and Open Time
The trowel is a dosing device, not a tool of convenience. Changing the notch changes coverage, ridge height and how much adhesive actually reaches the plank backing.
- 3/16 in x 1/4 in V-notch: smooth, well-prepared slabs and thin films. Higher coverage per gallon, lower ridge height.
- 1/4 in x 1/4 in square notch: the standard for glue-down plank over plywood or properly prepared concrete.
- 1/4 in x 1/4 in x 3/8 in square notch: rougher or profiled slabs, and pattern work where the adhesive bed must be thicker.
Verify transfer rather than trusting the notch. Set a plank within the open time, lift it, and look at the back: a good ribbed print covers at least 80-90% of the surface, with ridges flattened but not collapsed. Sparse or dry patches mean the wrong notch, a slab that has pulled the moisture out of the adhesive, or adhesive that had already skinned over.
Open time is not working time. A urethane rated at 40 minutes may still be workable at 60 minutes on a cool, dry slab, and the same adhesive in direct sun at 95 F can skin in 12 minutes. The practical test is the finger test: the adhesive should string slightly and still transfer to a fingertip, without pulling away in long threads. For takeoff, divide published coverage by 0.9 to allow for waste, and never order to the exact square footage, because a mid-day trowel change and ridge collapse both consume material.
Where Adhesive Still Applies in Floating and Nail-Down Work
Glue-down is not the only method that uses adhesive, and the wrong use of it is a common source of callbacks.
- Glue-assist nail-down: a 1/4 in bead of flooring adhesive along the top of the tongue before the next plank is engaged. This reduces squeaks and stiffens the assembly, especially with wide planks. It is not a substitute for fasteners.
- Floating floors: adhesive goes into the tongue-and-groove joints, or at click joints only where the manufacturer specifies it. Full-spread bonding a system designed to float can lock the floor and cause peaking at the perimeter.
- Transitions, stair nosings and thresholds: use the same system adhesive, not a general construction adhesive from a cartridge. Plasticiser migration from a generic cartridge product can stain the wear layer, and its hardness is wrong for a wood assembly.
The wider the plank and the more variable the indoor climate, the more the adhesive choice matters. A floor that is mechanically fixed and glued at the joints tolerates a 20-30% seasonal swing in humidity far better than one that relies on fasteners alone.
Procurement, Warranty and Compliance Points for Buyers
For importers, distributors and contractors, the adhesive decision is a commercial risk decision as much as a technical one.
- Approved-adhesive lists. Flooring warranties usually exclude adhesive unless the product appears on the manufacturer's approved list. Request that list at quotation stage, not at delivery, and confirm it is current for the specific construction you are buying, whether plank, herringbone or chevron.
- Documentation. Collect the technical data sheet and safety data sheet with revision dates, emissions documentation for the floor, shelf life and batch codes on every pail.
- Storage and shipping. Water-based emulsions are freeze-sensitive. A container that has frozen and thawed may never cure properly, so ask how the product was warehoused over winter and how it will be shipped to site.
- Batch consistency. Colour and filler content vary slightly between production batches. On a pattern floor with visible joints, that variation shows, so order the full quantity in one batch where possible.
- Cost planning. A professional flooring adhesive typically lands between $0.60 and $1.40 per sq ft at 30-45 sq ft per gallon, before labour. That range should be in the estimate from the start, because it is very difficult to recover later.
Our own engineered wood flooring ranges are supplied with construction detail, backing type and recommended installation method documented per series, which gives a buyer the two facts an adhesive specification depends on: what is under the wear layer, and how the floor is meant to be fixed.
A One-Page Specification Checklist
- Confirm the installation method - full-spread glue-down, glue-assist nail-down or floating - before pricing the job.
- Test the slab for in-situ RH, calcium chloride equivalent and pH, and log each reading with location and date.
- Match the adhesive family to the moisture result and to the backing, not to the brand on the shelf.
- Verify the adhesive appears on the flooring manufacturer's approved list for that specific construction.
- Write trowel notch, target spread rate and open time onto the installation drawing.
- Set jobsite conditions and acclimation time into the contract, with a named person responsible for monitoring them.
- Keep pail labels, batch codes and moisture records in the project file until the warranty period expires.
None of this makes the adhesive the most interesting part of a flooring project. It simply keeps a floor that sells for several dollars per square foot from turning into a claim that costs several times that to resolve. Choosing the right adhesive, at the right spread rate, on a slab that has been measured rather than assumed, is the cheapest insurance available on any glue-down engineered hardwood installation.

 +86-572-2118015
 No.598. Gaoxin Road, Huanzhu Industrial Zone, Huzhou City, Zhejiang Province, China, 313000