

 Eng
Eng  English
 中文简体
中文简体 Français
Content
A burned wood floor is usually one of two very different problems. The first is accidental damage: a cigarette dropped on a plank, a hot cast-iron pan set down without a trivet, a fireplace spark, or a clothes iron left face-down for two minutes. The second is intentional. Shou sugi ban, or charred wood, is a surface that has been deliberately burned, brushed and sealed to create a black, textured, weather-resistant face.
The two cases share a vocabulary and almost nothing else. Repair is about removing as little material as possible and hiding the loss. A charred finish is about building a controlled carbon layer and locking it in place. Misreading one as the other wastes money: sanding a scorch that only needed cleaning, or trying to stain a crater that has to be cut out. The diagnosis below takes about five minutes and decides everything that follows.
Reading the damage: scorch, char and burn-through
Work under raking light, with a torch held almost parallel to the surface, and probe the mark with a fingernail or a plastic scraper. Three things matter: whether the black wipes off, whether the surface has lost material, and how far the darkening runs into the wood.
| Damage level | Typical depth | What you see | Practical repair route |
|---|---|---|---|
| Scorch film | 0 to 0.2 mm | Brown-black smudge that lifts with a damp cloth; finish intact | Clean with a wood-safe cleaner; recolor with a touch-up pen only if stain has penetrated |
| Surface char | 0.2 to 1.5 mm | Crumbly black spot with a rim your fingernail catches | Sand 150 to 180 grit with the grain, gel stain to match, rebuild two thin finish coats |
| Burn-through | Over 1.5 mm, or down to the core | Crater, loose fibre, sometimes smoke odour or scorched finish around it | Cut out and patch with a matching off-cut, or replace the board |
| Deliberate char | 1 to 3 mm across the whole face | Consistent black surface with opened grain and brush marks | Wire brush, clean, seal with hardwax oil or a compatible lacquer |
Two rules of thumb follow. If a damp cloth lifts the black, you are dealing with soot sitting on top of the finish and no abrasive is needed. If a fingernail clicks over the rim of the mark, wood fibre has been removed and no amount of cleaning will bring the surface back to level; colour and film both have to be rebuilt.
Repairing a surface scorch without leaving a patch
Spot repairs succeed or fail on colour blending, and the finish type decides how forgiving the job will be. An oiled or matte-lacquered floor hides a local repair far better than a high-gloss lacquer, where the sheen difference exposes the patch even when the colour is exact.
- Clean the area with a damp cloth and a wood-safe cleaner, then let it dry for at least 24 hours. Trapped moisture under a new coat causes clouding.
- Test your colour on an off-cut or inside a wardrobe. Gel stain stays where it is applied and does not bleed along the grain, which makes it the safer choice for a small spot; burn-in sticks and touch-up pens work for hairline marks.
- Sand with the grain using a small flat block and 150 to 180 grit, feathering 100 to 150 mm past the mark. Keep the block flat, because a fingertip creates a dip that catches light.
- Wipe off the dust, then apply colour in thin passes, letting each one flash off. Two thin passes beat one wet one every time.
- Rebuild the film with two or three thin coats of a matching product, ideally the same sheen and the same chemistry. Lacquer applied over an oil finish will not bond reliably.
- Buff lightly and allow 24 to 72 hours of cure before furniture returns to the room.
Set expectations in writing. A well-executed spot repair is normally invisible at one metre under everyday lighting, but it will read as a small patch at 300 mm under a directed spotlight. If the specification demands the second standard, replace the board rather than repair it. For deeper surface work, a step-by-step guide to restoring worn and damaged wood surfaces covers the full sequence from stripping to final coat.
When the burn goes deeper than the finish
Below roughly 1.5 mm, repair becomes structural. The usual sequence is to cut out the damaged area with a router or chisel, square the edges so the patch has parallel sides, glue in a matching off-cut with the grain running the same way, sand flush, then colour and finish. Done well, the patch is visible mainly as a change in grain direction.
Whether a repair is possible at all depends on how much material remains above the substrate.
- 0.6 mm veneer: essentially no sanding room. A burn-through means a new board.
- 2 mm veneer: two or three careful passes with 180 to 220 grit, and no aggressive drum sanding.
- 4 mm veneer: enough material for a local cut-out plus one full refinish later in the floor's life.
- 18 to 20 mm solid: four to six full sandings over the life of the floor, which is why a scorched solid board can usually be saved.
Access matters as much as thickness. A single burnt plank in the middle of a glue-down floor is a two-hour job for an experienced fitter, because the damaged board is routed out and a replacement is glued in. On a floating click floor, take up the row from the nearest wall instead of levering the damaged plank upward, which deforms the locking profile of its neighbours.
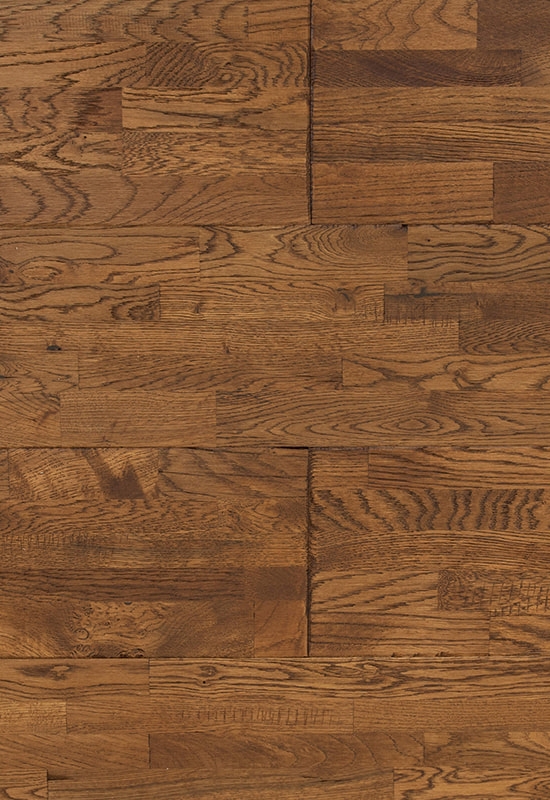
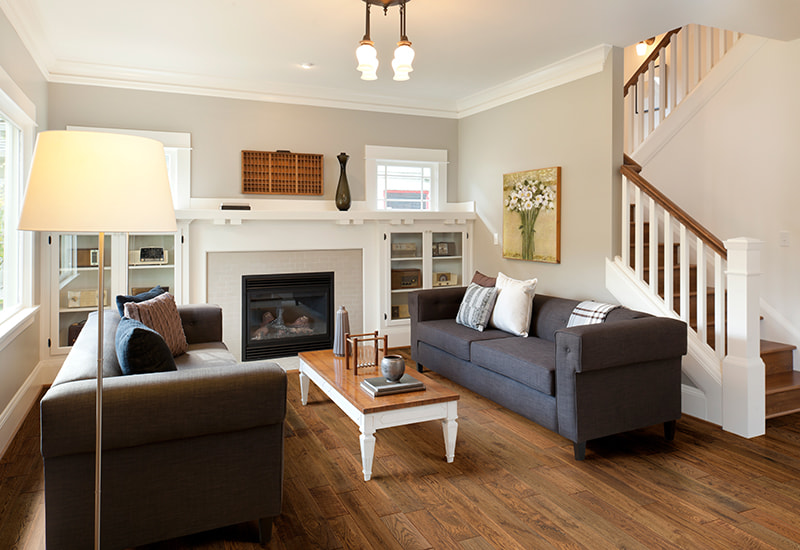 White Oak 125 Hand-scraped + DistressedSize: T 18mm x W 125mm x L Random LengthView Product →
When the burn is the design: charred and shou sugi ban floors
Intentional charring is old technology. Traditional yakisugi tied three cedar boards into a triangular chimney and burned them from the inside, then quenched, brushed and oiled the surface. The carbon layer, conventionally credited with resisting moisture, insects and ultraviolet light, is also the reason the colour never looks painted. Contemporary versions usually work on oak and burn the face directly, then wire brush away loose carbon so the grain opens and takes oil.
On-site charring versus factory carbonized and smoked finishes
Burning a floor with an open flame on site delivers genuine variation, but it also delivers smoke, odour, insurance questions and a result that no two installers reproduce identically. Factory routes give a similar visual language with tighter control:
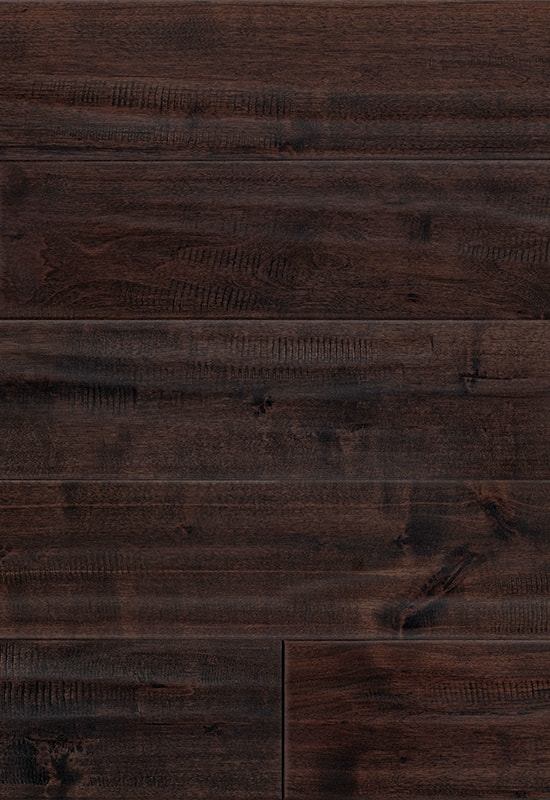
- Thermal carbonization: timber is heated in a kiln at roughly 180 to 230 degrees Celsius in a low-oxygen atmosphere, so the darkening runs through the wood rather than sitting only on the face.
- Smoked finishes: the surface is darkened by a controlled reaction instead of a flame, producing deep brown-black tones without a fragile carbon crust.
- Wire-brushed and distressed textures: the tactile half of a charred floor, created mechanically, with the grain opened so oil sits deeper and wear reads as patina.
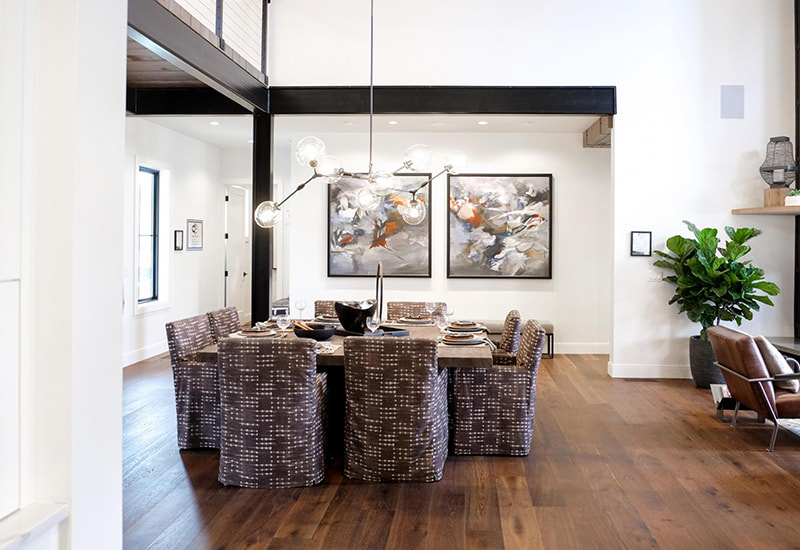 Dark Smoked-White OakBrevel: Standard Bevel TypeView Product →
 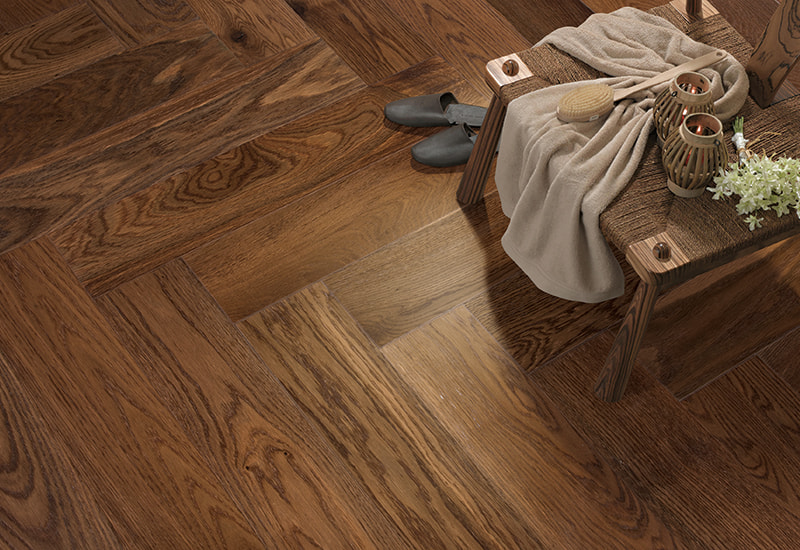 Carbonization-White OakBrevel: Standard Bevel TypeView Product →
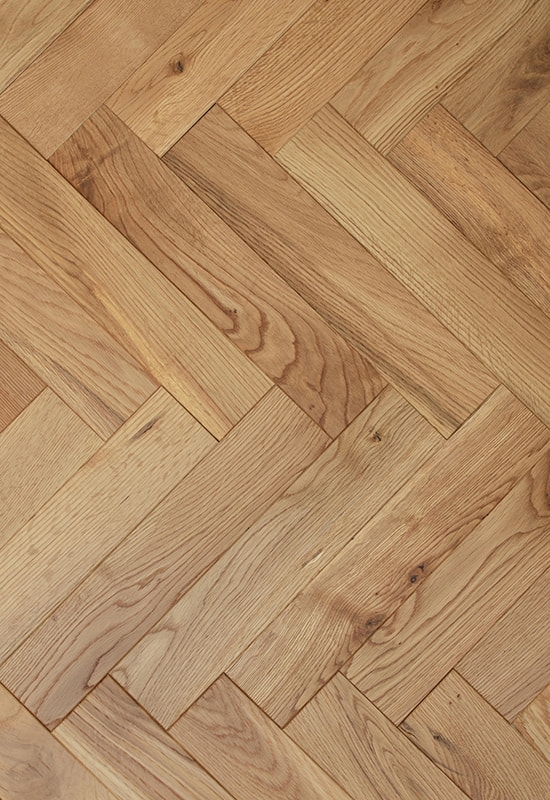
These finishes are produced in plank, herringbone and chevron formats, which matters when a designer wants the charred look in a pattern rather than straight boards. Herringbone and chevron also hide joints differently: a charred surface plus raking light makes any lippage between pieces more obvious, so the substrate flatness tolerance deserves the same attention as the colour.
What to verify before buying a burned-look floor
Finish choice drives the long-term repair story. An invisible lacquer preserves the raw touch of the wood but shows scuffs sooner, an oil finish can be repaired board by board, and a heavy lacquer build is the least forgiving when a burn mark appears five years after installation.
- Wear layer and sanding budget: ask for the veneer thickness in millimetres, not a marketing term, and confirm how many refinishes the construction supports.
- Sample approval: request three pieces from the production lot rather than one showroom board. Char and smoke variation is a feature until the container arrives and the range looks nothing like the sample, so agree on an acceptance range in writing.
- Moisture and acclimation: a finished floor is typically supplied at 6 to 9 percent moisture content for temperate markets, and boards that are installed straight off a cold container will gap, cup or squeak regardless of how good the char looks.
- Cleaning: a brushed, charred surface traps dust in the grain. Weekly dry microfibre and a slightly damp mop are enough; wax on an oiled floor creates a film that later repairs cannot blend into.
Because burned-look products depend on process discipline, verification is easier with a manufacturer that runs the whole chain in one plant and documents material origin, since carbonized and smoked surfaces are only as consistent as the raw boards underneath them. Buyers comparing quotations should confirm top-layer thickness, finish chemistry, locking system licensing and certification coverage, because a low price usually reflects one of those four items rather than the char itself. Details on how these surfaces wear and where each one fails are covered in this comparison of wood flooring production and finishes from a factory-direct supplier working to European, North American and Japanese specifications.
The decision path stays simple. Soot wipes off, so clean it. Shallow scorch gets sanded, coloured and recoated, and the honest acceptance standard is invisible at one metre rather than invisible under a spotlight. Deep char is cut out and patched, or the board is replaced if the wear layer is thin. A deliberate charred look is specified as carbonized, smoked or wire-brushed product with samples approved from the production lot. In every case the first measurement is depth, because depth decides whether you are removing material or adding it.

 +86-572-2118015
 No.598. Gaoxin Road, Huanzhu Industrial Zone, Huzhou City, Zhejiang Province, China, 313000