

 Eng
 English
 中文简体
 Français

Content
Maple is one of the few species that punishes a careless finishing schedule. The wood is dense, the pores are closed, and the natural color is so pale that any amber shift shows up within weeks. On a furniture panel that is a cosmetic nuisance; on a floor, or across a container of 8,000 square feet, it becomes a color-approval problem that no amount of touch-up can solve.
What follows is a working finish schedule for maple, written from the perspective of specification rather than preference: what the wood does to a coating, which finish families behave predictably, how to control blotching and yellowing, and what tolerances a buyer should put in writing before the first coat goes down.
Why Maple Finishes Behave Differently
Hard maple (Acer saccharum) sits around 1,450 lbf on the Janka scale, close to hickory and well above white oak. Soft maple, usually red maple, runs nearer 950 lbf. Both share the traits that matter for finishing: very fine, closed pores and a low tannin content.
That combination produces three predictable problems. First, a film-forming finish has little to key into, so surface preparation carries more weight than on open-grained species. Second, extractives — sugars and starches — are unevenly distributed across the board, so absorption varies from strip to strip and blotching appears even when the stain is applied uniformly. Third, because the base color is pale cream rather than tan, the warm shift that solvent coatings develop is immediately visible, and it is usually read as "yellowing" rather than as patina.
Density also changes coverage. A dense maple face typically consumes less finish per square meter than oak, so coverage figures from an oak job should not be carried over. Budget roughly 10–12 m²/L for the first coat of a water-based system, then re-check film build with a wet-film gauge.
Sanding Sequence: The Step That Decides Everything
Most maple complaints trace back to a skipped grit or an over-sanded surface. A workable sequence for bare wood, whether floor or panel:
- 36–40 grit to flatten and remove mill marks or old finish residue.
- 60 grit to erase the scratch pattern from the previous step.
- 80 grit to refine and reveal any remaining cross-grain scratches.
- 100–120 grit as the final abrasive step before staining.
- 150 grit only where a very light stain or clear coat will follow.
Do not jump more than one grit between passes, and do not finish maple at 180 grit or above. At that level the abrasive burnishes the surface, closing the pores further and reducing both stain penetration and mechanical adhesion. On a pre-finished board being scuffed between coats, 180–220 grit is correct; on bare wood it is counterproductive.
Remove dust with a vacuum and a water-dampened cloth rather than an oil-based tack rag, which can leave a residue that interferes with water-based coatings. Water popping — wiping the surface with a damp cloth to raise the grain — is a common trick for evening out stain on oak, but on maple it amplifies blotching and should be replaced with a thin washcoat.
Comparing Finish Families on Maple
There is no universally best finish for maple, only a finish that matches the color target, the traffic, and the maintenance program the owner will actually follow. The comparison below assumes bare, sanded hard maple and residential-to-light-commercial use.
| Finish family | Color shift on maple | Durability | Practical recoat | Where it fits |
|---|---|---|---|---|
| Water-based polyurethane | Minimal; stays close to clear | Moderate to high with 3 coats | 2–4 years | Pale, near-white maple looks |
| Oil-modified polyurethane | Strong amber; deepens for months | High | 3–5 years | Traditional warm tone, heavy traffic |
| Hardwax oil | Light warmth; lifts the figure | Medium; spot-repairable | 1–3 years with maintenance coats | Matte, tactile, open-grain interiors |
| Acid-cure or conversion varnish | Slight, batch dependent | Very high; chemical resistant | 5+ years | Furniture, commercial joinery |
| Nitrocellulose lacquer | Strong amber within 12 months | Low to medium | Not a floor system | Furniture and cabinetry only |
| Factory UV-cured lacquer or UV oil | Controlled and batch-approved | High; wear layer dependent | 7–10 years before refinish | Production flooring, large projects |
Two practical notes sit behind the table. First, a water-based system is not automatically "whiter" in service — most modern acrylics stay neutral, but some cheaper formulations dry with a cool, slightly hazy cast on pale maple, so a cured sample matters. Second, hardness is not the same as wear resistance: a rock-hard film that cracks under impact will fail faster than a softer film that flexes.
Color Control: Dye, Pigment, and Washcoats
Dye versus pigment
Dyes dissolve and penetrate, which makes them the more even choice on maple and the reason most professional dark-maple work starts with a dye. Pigments sit closer to the surface and emphasize figure, but they also reveal every variation in absorption — the classic blotch pattern. Gel stains fall between the two: low penetration, longer open time, and more forgiving on dense grain.
A washcoat protocol that works
- Seal the sanded surface with a very thin coat of sanding sealer thinned 5–10% or a dedicated conditioner.
- Let it dry 30–45 minutes, then abrade lightly with 320 grit to knock down raised grain.
- Apply dye or stain within the recommended window; most sealers accept stain for 2–4 hours.
- Lock the color with a thin clear coat before any glaze or second toner.
- Evaluate on three test panels cut from the actual production lot, cured 72 hours, viewed under both 4000K light and daylight.
For deep, saturated colors, a two-step system of dye followed by a glaze gives more control than a single heavy stain coat. The workflow and its pitfalls are set out in this guide to staining maple floors dark, including the drying times that separate a rich brown from a muddy one.
Site-Applied Versus Factory Finish
The gap between these two routes is larger on maple than on most species, because a factory line can control film build and cure far more tightly than a crew working in a occupied building.
A factory system typically builds 6–9 coats, each cured in seconds under UV, with an optional aluminum oxide or ceramic component in the wear layer. Gloss is measured and held to a tolerance, and the pale, open-pore "invisible" look that maple buyers ask for can be reproduced batch after batch. A site-applied system usually means three coats with 8–12 hours between them, dust managed by plastic sheeting, and ambient conditions of 18–24 °C with 35–55% relative humidity.
Solid maple remains the reference for color depth, since the same board is sanded and finished through its full thickness:
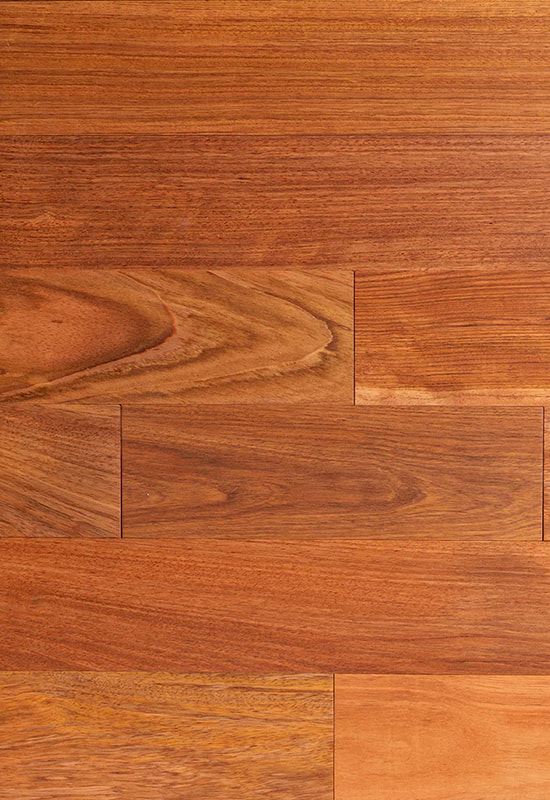
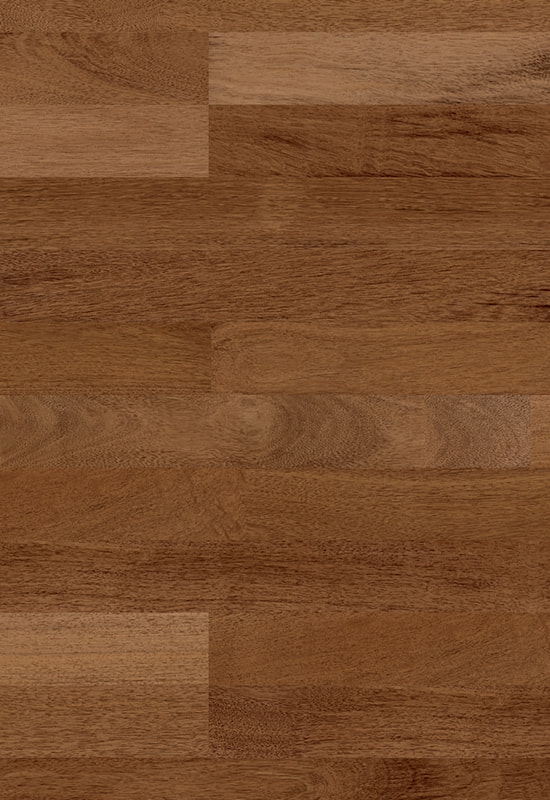
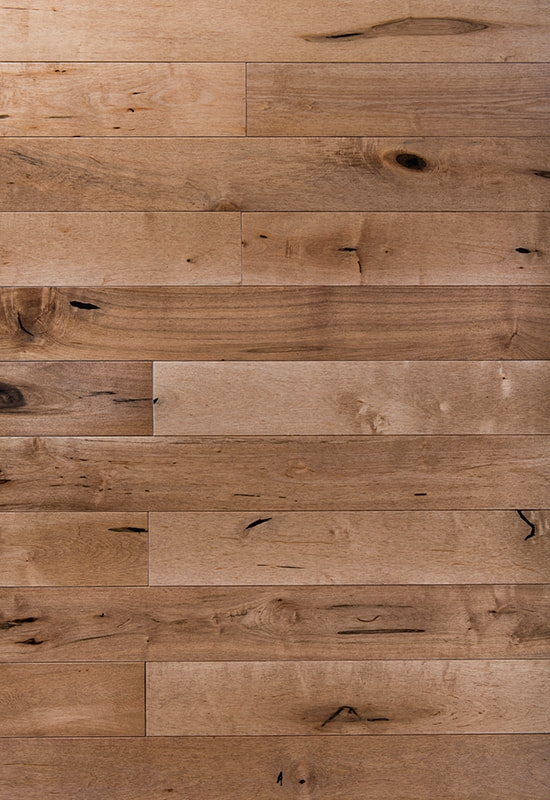
 Chinese Maple Flat Solid Wood FlooringSolid Chinese maple in 18 mm thickness with a smooth flat UV-lacquered finish, offering the color depth expected from a sanded-through solid board.View Product →
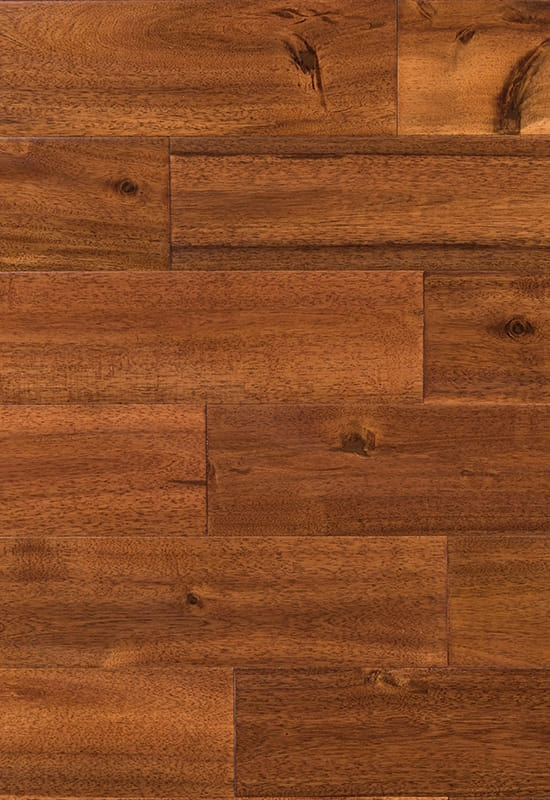
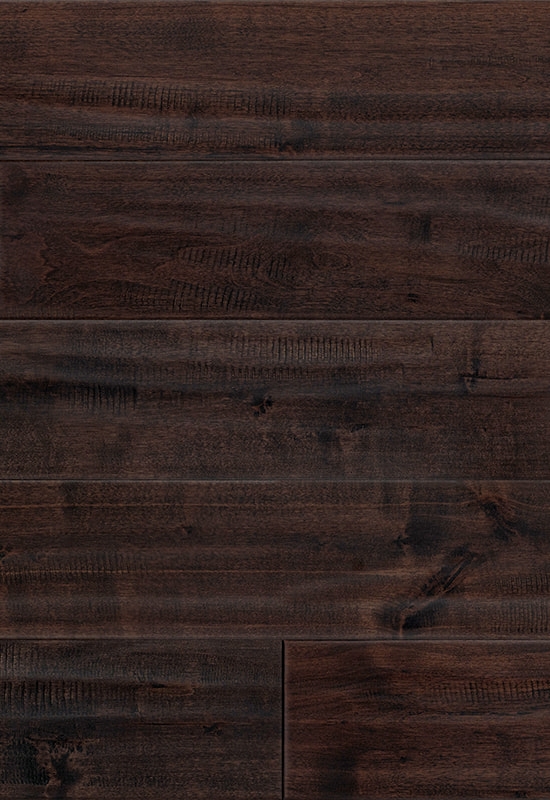
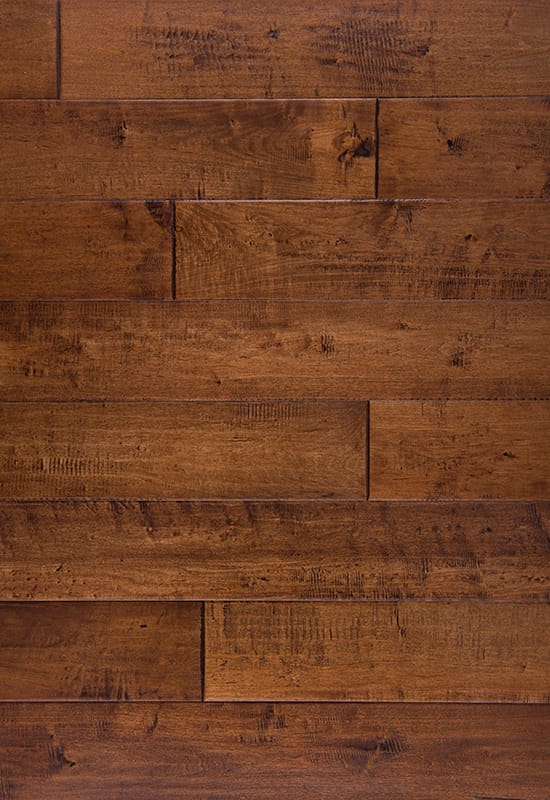
 Chinese Maple Hand-Scraped Solid Wood FlooringHand-scraped and distressed Chinese maple in 18 mm solid boards, with UV lacquer and warm or cool color options for busy residential or commercial interiors.View Product →
Engineered construction reaches the same visual result with more dimensional stability, which matters where maple is being laid over a screed or a heated slab:
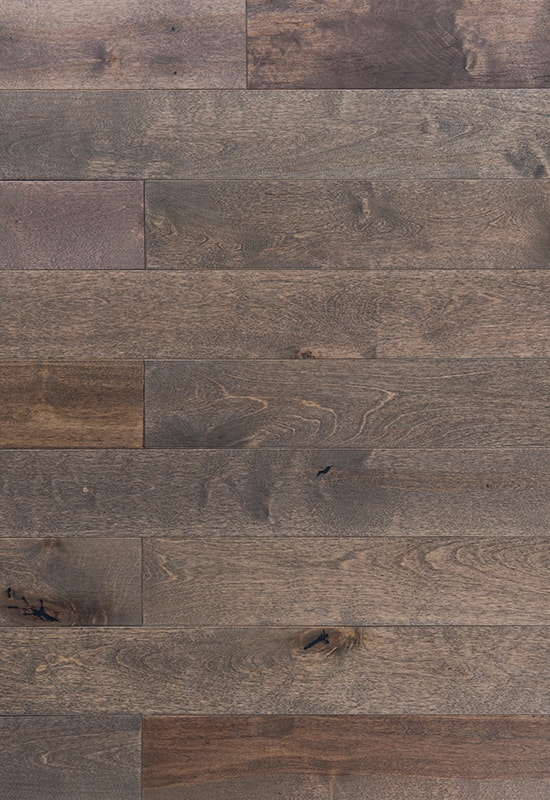
 Morris Maple Flat Engineered Wood FlooringEngineered maple with a 0.6 mm solid top layer and multiple plank sizes, adding dimensional stability where screed or heated-slab conditions demand a measurable specification.View Product →
Acceptance Criteria to Put in Writing
Vague approvals cause most finish disputes on maple. Convert the specification into measurable lines before production starts:
- Moisture content: 6–9% at the time of finishing, checked on at least 20 boards with a calibrated meter.
- Adhesion: cross-hatch test to ASTM D3359, result of 4B or better on a production sample.
- Film build: 25–35 µm dry per coat for water-based systems, verified with a wet-film gauge during application.
- Gloss: within ±3 gloss units of the approved sample, measured at 60°.
- Color: ΔE of 1.5 or less against the approved reference, using the same light source for every check.
- Cure schedule: no foot traffic for 24 hours, no furniture for 72 hours, no rugs for 7 days.
The manufacturer's own quality process should mirror these points, with third-party testing of topcoats and adhesives where the project demands documentation — details of that process are summarised on the company profile page.
Keeping the Finish Intact
Most maple finishes that fail early were cleaned to death rather than worn out. Use a pH-neutral cleaner diluted to the label rate, damp-mop and dry immediately, and keep water out of seams. Steam mops and vinegar solutions dull the film and accelerate the amber shift on oil-modified systems. Maintain indoor humidity at 35–55%; maple moves with the seasons, and finish cracking usually follows a swing outside that band.
A recoat is due when water stops beading or when traffic lanes read shinier than the surrounding floor. On a factory finish that may be 7–10 years out; on a site-finished floor, 3–5 years with a light screen and one fresh coat is a cheaper strategy than waiting for wear-through.
Finishing maple rewards discipline more than product choice. Sand through the full grit sequence and stop at 120–150 on bare wood, control absorption with a thin washcoat before any pigment touches the surface, pick a coating family by its measured color shift rather than its marketing description, and write the tolerances into the order. A pale species shows every shortcut — which is exactly why a documented schedule is worth more on maple than on any darker wood.

 +86-572-2118015
 No.598. Gaoxin Road, Huanzhu Industrial Zone, Huzhou City, Zhejiang Province, China, 313000
