
 English
 中文简体
中文简体 Français
Content
- 1 Why Subfloor Matters for Engineered Hardwood
- 2 Subfloor Material Options: Plywood vs OSB vs Concrete
- 3 Flatness & Moisture: The Two Critical Tests
- 4 Subfloor Prep by Installation Method: Floating, Glue-Down & Nail-Down
- 5 Underlayment Selection for Engineered Hardwood Subfloors
- 6 Subfloor for Radiant Heating Systems: Special Considerations
- 7 Commercial vs Residential Subfloor Standards
- 8 Common Subfloor Mistakes & How to Fix Them
Why Subfloor Matters for Engineered Hardwood
A buckled engineered floor rarely starts with the planks themselves. It almost always traces back to the subfloor—the layer you stand on before the finished wood ever goes down. Even multi-ply engineered hardwood, with its cross-laminated stability, will telegraph subfloor defects across its entire surface. Movement, noise, and adhesive failure all escalate when the base is wrong.
Three subfloor conditions cause the bulk of installation failures. First, unevenness forces flooring connectors to work against each other, producing squeaks and eventual joint separation. Second, excess moisture swells the core, whether it is plywood or high-density fiberboard, and can delaminate the wear layer. Third, insufficient strength allows too much deflection, which cracks tongue-and-groove profiles under foot traffic. Each of these problems is preventable with the right preparation.
Engineered hardwood with an HDF core is particularly rigid and transfers subfloor movement directly into the locking system, making flatness non-negotiable. A traditional plywood-core product is more forgiving but still demands a dry, solid base. Before you choose a specific plank, allocate time to verify what lies beneath it.
When the subfloor meets established standards, the engineered floor above it performs exactly as designed. The National Wood Flooring Association (NWFA) provides clear tolerances that separate routine installation from warranty-voiding shortcuts. Ignore these thresholds and you are gambling with a material that will expand, contract, and deflect thousands of times over its lifespan.
Subfloor Material Options: Plywood vs OSB vs Concrete
Three base materials dominate residential and light commercial projects: plywood, oriented strand board (OSB), and concrete. Each requires a specific grade, thickness, and moisture-management approach before it can support engineered hardwood. The installation method you plan—floating, glue-down, or nail-down—further narrows what is acceptable.
Plywood subfloors need to be at minimum 5/8 inch thick, but 3/4-inch tongue-and-groove (T&G) panels are the standard for nail-down installations. Look for APA-rated sheathing with exterior or Exposure 1 glue bonds. OSB must be APA Rated Sturd-I-Floor and at least 3/4 inch thick. Lower-grade OSB can swell under moisture and lose fastener grip. Concrete requires a 28-day cure and a confirmed moisture level below 4% before any wood flooring goes down.
The table below maps material requirements, costs, and compatibility with common installation methods.
| Material | Recommended Thickness | APA Grade / Standard | Cost Range (Material Only) | Best For |
|---|---|---|---|---|
| Plywood | 3/4" T&G | APA Rated Sheathing, Exposure 1 | $0.50–$0.80/sq.ft. | Nail-down, glue-down |
| OSB | 3/4" T&G | APA Rated Sturd-I-Floor | $0.30–$0.50/sq.ft. | Nail-down (with moisture care) |
| Concrete | Slab (min 3,000 psi) | ASTM C94 slump, ASTM E1745 vapor retarder | Varies regionally | Floating, glue-down |
Concrete slabs require an added step no wood subfloor demands: a permanent moisture barrier. A 6-mil polyethylene sheet or a two-part epoxy moisture-suppression system separates the engineered flooring from alkaline salts and water vapor. Without it, even a stable plywood-core engineered plank will cup and warp within weeks. On wood subfloors, the barrier shifts from plastic sheeting to the underlayment and adhesive functions, which we detail further below.
For projects where the subfloor is a mix—plywood over concrete in a split-level, for example—treat each zone to its own prep protocol. The transition must include an expansion gap and matching flatness across materials.
Flatness & Moisture: The Two Critical Tests
Before a single box of flooring is opened, run two diagnostic checks: a 10-foot straightedge flatness scan and a calibrated moisture reading. These are not optional suggestions; they are the empirical gatekeepers between a stable floor and an expensive callback.
Flatness tolerances vary by installation method. For floating and nail-down systems, the NWFA standard allows no more than 3/16 inch over a 10-foot radius, or 1/8 inch over 6 feet. Glue-down installations are stricter: 1/8 inch over a 10-foot span is the maximum deviation. Use a 10-foot aluminum straightedge and a feeler gauge. Mark every low spot and high spot with chalk. High spots grind down; low spots fill with a Portland-cement-based self-leveling compound. Do not assume the subfloor is flat because it looks flat—old homes and new construction both produce waves invisible to the naked eye.
Moisture testing depends on the substrate. For concrete, the anhydrous calcium chloride test (ASTM E1907) measures vapor emission; the result must be under 3 pounds per 1,000 square feet per 24 hours. Alternatively, an in-situ relative humidity probe meeting ASTM F2170 should read below 75% RH for most adhesives. Wood subfloors require a pin-type or pinless moisture meter; the moisture content must be within 2–4 percentage points of the engineered hardwood’s equilibrium moisture content for the region. A subfloor reading of 12% next to a flooring reading of 8% is a guarantee of future gapping or cupping.
Record all measurements. Photograph the meter displays. If the numbers fall outside tolerance, stop. Solve the moisture problem first—there is no underlayment or adhesive that reliably compensates for a chronically wet slab.
Subfloor Prep by Installation Method: Floating, Glue-Down & Nail-Down
The choice of installation method dictates a distinct subfloor preparation sequence. While the flatness and moisture thresholds remain, the materials layered between subfloor and flooring change dramatically.
| Method | Acceptable Substrates | Flatness Tolerance | Underlayment Required | Moisture Barrier |
|---|---|---|---|---|
| Floating | Plywood, OSB, concrete | 3/16" over 10 ft | Foam or cork pad (vapor-block if over concrete) | 6-mil polyethylene over concrete; integrated in pad |
| Glue-Down | Plywood, concrete, OSB (specific adhesive) | 1/8" over 6 ft | None (adhesive acts as layer) | Polyurethane or silane-modified adhesive; epoxy sealer for concrete |
| Nail-Down | 3/4" plywood or OSB only | 3/16" over 10 ft | 15-lb asphalt felt or rosin paper | Felt acts as retarder; subfloor moisture must be low |
For a floating floor, the subfloor must be swept clean of debris that can telegraph through the pad. The underlayment rolls out perpendicular to the plank direction, with seams taped. Over concrete, use a pad that has a built-in moisture barrier rated under 0.1 perms. Missing that spec invites vapor drive through the slab.
Glue-down installations demand the tightest flatness and a moisture-mitigation system. The adhesive itself frequently doubles as a vapor retarder, but only if the manufacturer’s coverage rate is exactly followed. Roughen the concrete surface if it is too smooth—power grinding opens the pores for a stronger bond. Always use the adhesive recommended by the engineered wood manufacturer, and verify the open time does not exceed the working window.
Nail-down projects rely on a wood subfloor that is 3/4 inch thick and structurally sound. Secure any loose panels with ring-shank nails before laying the felt. Staple the felt flat, overlapping edges by 4 inches. This layer isolates wood-on-wood friction, which would otherwise produce persistent squeaks. Confirm that subfloor moisture content is under 12% before covering it.
Underlayment Selection for Engineered Hardwood Subfloors
Underlayment is not just a cushion; it is a functional separator that determines acoustics, thermal resistance, and moisture control. The right material transforms a bare subfloor into a prepared surface that protects the engineered hardwood from below while meeting building code requirements for sound transmission.
| Type | Material | Typical IIC Rating | Moisture Perm Rating | Best Use Case |
|---|---|---|---|---|
| Foam (polyethylene) | Closed-cell foam | 45–50 | 0.1–0.3 perms (vapor-block options) | Floating floors over concrete in single-family homes |
| Cork | Compressed granulated cork | 50–55 | 2.0–5.0 perms | Condos, multi-family units needing IIC>50 |
| Rubber | Recycled rubber, dense EVA | 55–62 | 0.05–0.15 perms | Commercial spaces, high-traffic acoustic zones |
| Felt | Synthetic or organic fiber felt | 40–45 | 5.0–10.0 perms | Nail-down installations over wood subfloors |
Selecting underlayment begins with the building code. Condominium associations often mandate a minimum IIC of 50 between floors. A cork pad delivers that without excessive height gain. In commercial offices, a high-density rubber underlayment achieving IIC 55+ isolates footfall noise while resisting compression under rolling loads. Home installations over wood subfloors can use a simpler felt or lightweight foam, as long as a separate vapor barrier is not needed.
Check the engineered hardwood manufacturer’s approval list. Some HDF-core click-lock systems require a specific pad density to prevent vertical deflection that stresses the locking joint. Pairing the flooring, underlayment, and subfloor as a system avoids finger-pointing later. For example, accessories such as compatible underlayment and adhesive are often available alongside the flooring itself and are tested to work together.
Subfloor for Radiant Heating Systems: Special Considerations
Radiant heat changes every subfloor parameter because it introduces a thermal driver that cycles daily. The subfloor must allow efficient heat transfer while withstanding temperature swings without cracking or delamination. Engineered hardwood is the preferred wood flooring over radiant heat, but the subfloor assembly must be designed in parallel.
First, ensure the total thermal resistance (R-value) of subfloor, underlayment, and flooring stays at or below 2.0 ft²·h·°F/Btu for hydronic systems. An HDF-core engineered plank generally contributes a lower R-value than a plywood-core plank, making it easier to stay under the threshold. This is where core material drives subfloor choices: an overbuilt insulating layer under an already dense flooring can slow heat delivery and cause the system to run inefficiently.
Key checks for radiant subfloors include:
- Subfloor material compatibility: Concrete slabs with embedded pipes are ideal. Wood subfloors over hydronic tubing require a poured gypsum or lightweight concrete overlay to surround the pipes before flooring goes down.
- Moisture testing after thermal cycling: Run the system at operating temperature for several days before testing moisture. Heat accelerates vapor migration, revealing hidden slab moisture that would otherwise appear after installation.
- Expansion clearance: Leave a 1/2-inch gap around the perimeter and at all vertical obstructions. Radiant-heated engineered wood moves more than non-heated floors, and the subfloor edge must accommodate it.
- Gradual start-up: Bring the system to temperature in 5°F increments per day. Rapid heating spikes subfloor stress and adhesive cure rates.
Commercial vs Residential Subfloor Standards
What works in a 200-square-foot bedroom often falls short in a 2,000-square-foot lobby. Commercial subfloors face heavier live loads, stricter sound isolation codes, and longer maintenance cycles. The differences are not subtle.
| Requirement | Residential | Commercial |
|---|---|---|
| Live Load | 30–40 psf | 50–100 psf (varies by occupancy) |
| IIC (Impact Insulation) | ≥45 | ≥50–55 (often code-mandated) |
| STC (Sound Transmission) | ≥45 | ≥55 |
| Flatness | 3/16" over 10 ft | 1/8" over 10 ft (tile-like flatness) |
| Moisture Control | Homeowner compliance | Third-party slab testing report |
A concrete subfloor in a commercial space must carry a certified moisture test result before the flooring package is even ordered. High-traffic areas like hotel corridors or open-plan offices typically use a glue-down installation with a two-part epoxy moisture barrier and a high-solids polyurethane adhesive. The subfloor also gets shot-blasted or ground to a concrete surface profile (CSP) of 2–3 for maximum bond strength. Residential standards rarely go that far.
For commercial projects, specifying an engineered hardwood that has passed third-party formaldehyde emission tests becomes a liability management tool. Products manufactured for export markets often meet EU E1 or CARB Phase 2 limits, which align with LEED and WELL building requirements. That level of documentation starts at the subfloor prep stage and extends to every accessory used.
Common Subfloor Mistakes & How to Fix Them
The same errors appear on job sites year after year, whether done by a rushed contractor or a conscientious homeowner working weekends. Recognizing them before the flooring goes down prevents demolition later.
Here are the five most frequent subfloor mistakes:
- Skipping the moisture test. A slab can look dry and still emit enough vapor to destroy an engineered floor. Fix: Always run an anhydrous calcium chloride or relative humidity test. If over limit, install a surface-applied moisture barrier.
- Ignoring small low spots. A 1/4-inch dip across 2 feet is enough to create a soft spot in a floating floor. Fix: Fill with a cementitious self-leveler and re-check flatness.
- Using the wrong underlayment. A plain foam pad over concrete with no vapor-block function is a warranty disaster. Fix: Swap for a pad rated under 0.1 perms, or add a separate 6-mil poly sheet underneath.
- Not acclimating subfloor materials. Plywood or OSB delivered wet to the site and installed immediately will shrink. Fix: Store wood subfloor panels in the conditioned space for at least 48 hours before fastening.
- Relying on adhesive to fix bad prep. Glue does not level a wavy slab or seal a wet one. Fix: Grind high spots, fill low spots, and apply a moisture-suppression system before adhesive.
Pre-installation diligence is the only insurance that pays out. A half-day spent testing and correcting the subfloor buys you a decades-long floor that stays flat, quiet, and bonded. When in doubt, bring in an NWFA-certified inspector to validate the numbers—it costs far less than a tear-out.
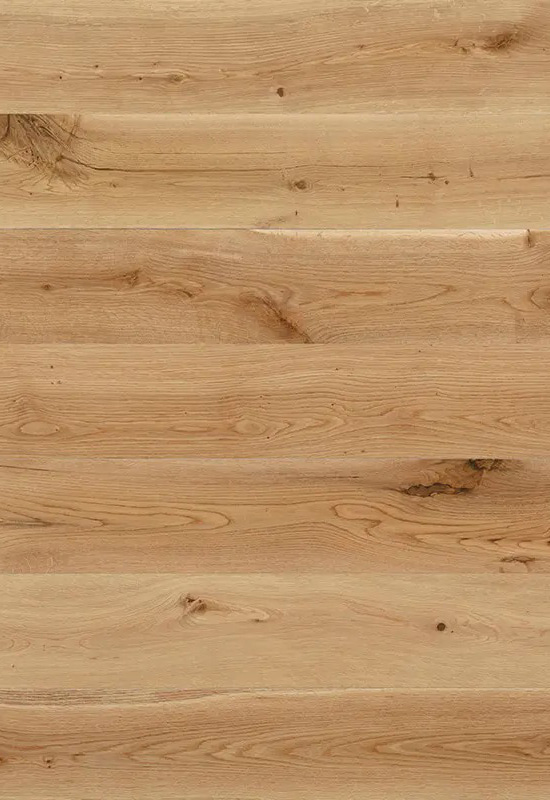
 Flat Solid Wood Flooring")
 Flat Solid Wood Flooring")
 Hand-scraped Distressed Solid Wood Flooring")


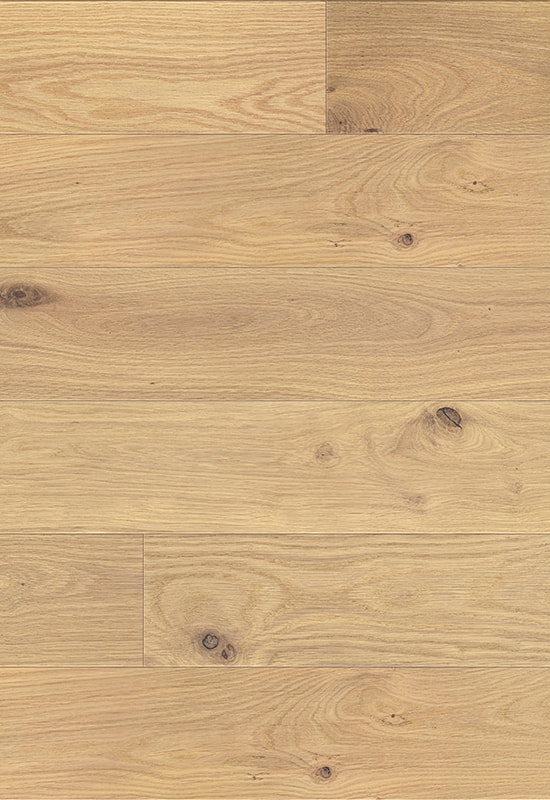
 Flat Solid Wood Flooring
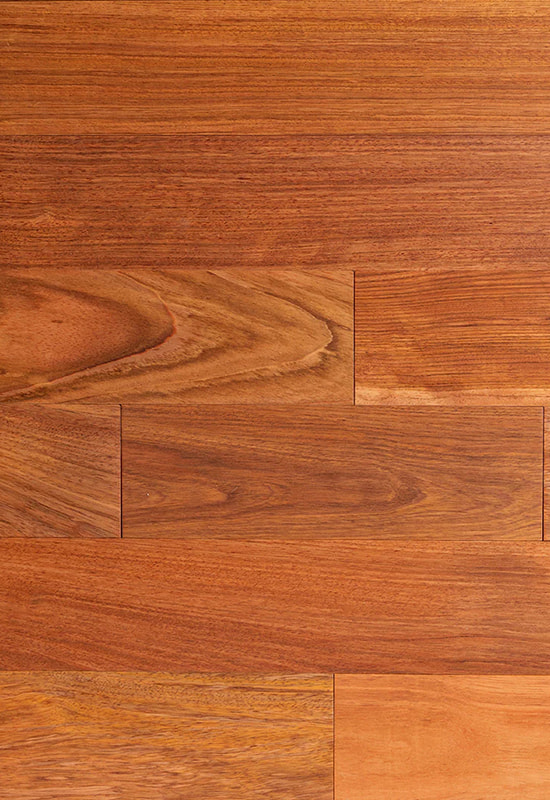
Cumaru")


 +86-572-2118015
 No.598. Gaoxin Road, Huanzhu Industrial Zone, Huzhou City, Zhejiang Province, China, 313000